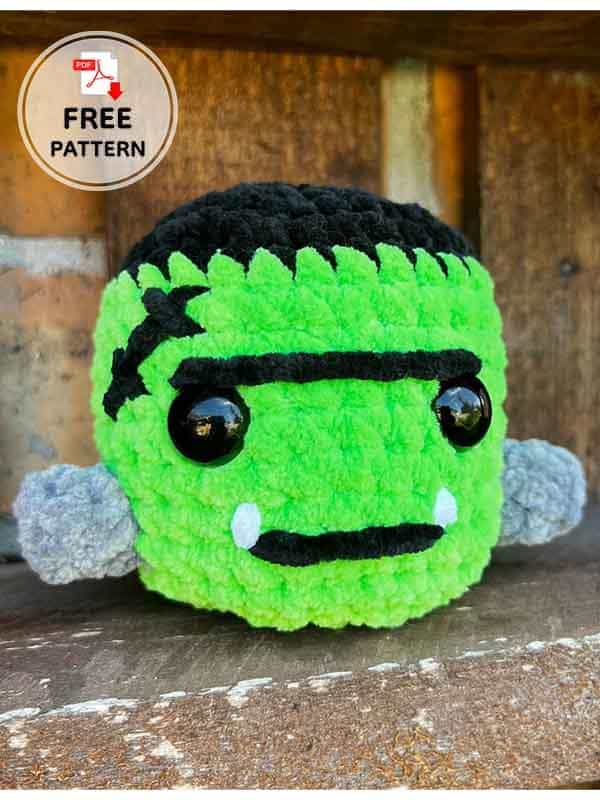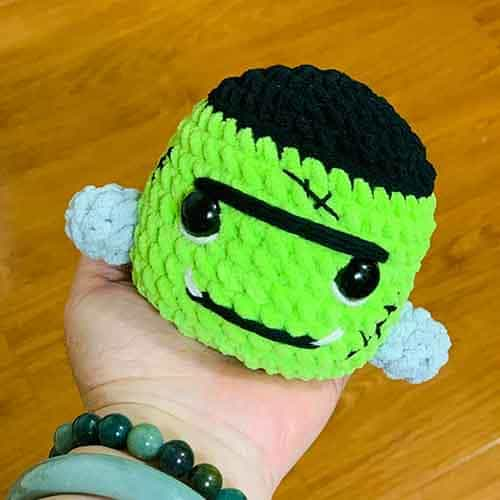
Since we started sharing Halloween crochet patterns, we can say that there is little time left. This crochet frankenstein head that you see is also a perfect Halloween crochet pattern and will be your favorite amigurumi toy this year. Whether it is for home decor or as a Halloween gift. It is a wonderful crocheted Frankenstein amigurumi toy that will meet all your needs. I think this is my favorite piece in DIY Halloween crochet patterns. Even beginners can do it. Because we will only make the head. First of all, we start with black yarn to start with the hair and switch to green yarn and complete the head. Then we make the eyes, mouth and bolts on Frankenstein’s face. That’s it. The crocheted Frankenstein pattern is now with you below with its details.
Design by: scribeandstitch
Crochet Frankenstein
Materials:
• Yarn: size 6 super bulky.
– Green, black, gray and white (I used parfait chunky).
• Crochet hook size: 6 mm.
• Polyfill stuffing.
• 16 mm safety eyes.
• Yarn needle.
• Scissors.
• Stitch marker.
Abbreviations:
MR- Magic ring
R- Round
Sc- Single crochet
Inc- Increase
Dec- Decrease
CC- Color change
BLO- Back loops only
Head
Start in black.
R1. 8 sc in MR (8)
R2. inc x8 (16)
R3. (sc,inc)x8 (24)
R4. (2sc,inc)x8 (32)
R5. 32 sc (32)
R6. (CC to green) 32 sc (32)
R7-14. 32 sc (32) (total of 8 rounds)
Insert eyes between R8-9 with 4 visible stitches apart.
R15. (2sc,dec)x8 (24)
R16. (sc,dec)x8 (16)
R17. dec x8 (8)
Stuff your project, but don’t stuff too full so that the bottom can be flat and stand upright.
Fasten off, sew up the hole and weave in the ends.
Bolts (make 2)
Using gray yarn.
R1. 6 sc in MR (6)
R2. 6 sc in BLO (6)
R3. (both loops) 6 sc (6)
Fasten off, leave long tail to sew to the sides of the neck.
For bolt placement: find center and count one row down from the eye (should be row 11), then count 4 stitches to the left (for left bolt) and 4 stitches to the right (for right bolt) and begin placing between R11&13 covering a span of 3 stitches.
Face details
Using black yarn create a scar above one of the eyes, a unibrow, and a mouth (as shown photo).
Place mouth at R12 covering 6 stitches.
Using white yarn, add a stitch to each side of the mouth to create teeth.


Leave a Comment