
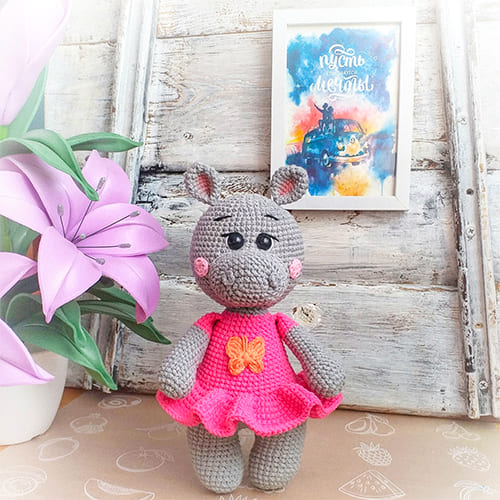
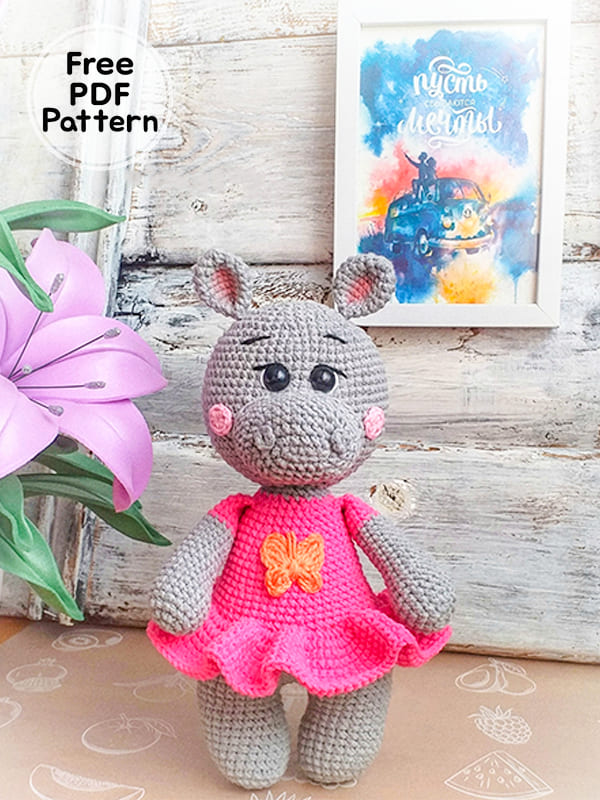
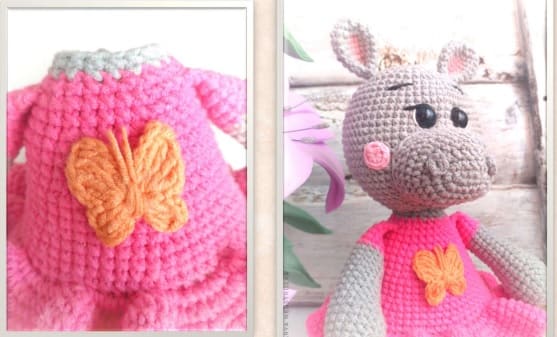
You can follow our step by step pattern instruction to make a free crochet hippo. You can download it as a PDF completely free of charge, you can quickly make the cute hippo. The completed size of the crochet hippo is 23 cm. The designer used YarnArt Jeans half cotton yarn and a 2mm crochet hook to create the cute hippo. The hippopotamus’ feet and body consist of a single piece. Other parts, arms and tail are fixed later. It also features a hippopotamus crochet skirt. Finally, we decorate with a crochet butterfly. That’s all. Start reading the instructions right now to complete the crochet hippo, one of the most popular amigurumi patterns.
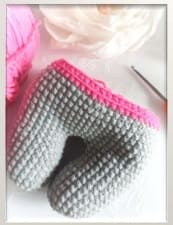
Crochet Hippo In Pink Dress Amigurumi Free PDF Pattern
Designer: Darya Neustroeva
Materials:
– YarnArt Jeans, color 46 and color 59
– Some white and black yarn to decorate the eyes
– Some pink yarn for cheeks
– Filler
– Eyes 12mm
– Crochet hook 2mm
– Sewing needle
Abbreviations
MR: Magic ring
Sc: Single crochet
Ch: Chain
Inc: Increase
Dec: Decrease
BLO: Back loop only
FLO: Front loop only
Slst: Slip stitch
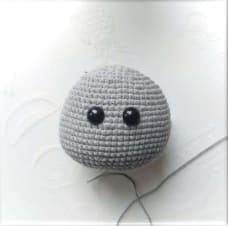
Head
1) 6sc in MR
2) 6inc (12sc)
3) 1sc, inc *6 (18sc)
4) 1sc, inc, (2sc, inc) *5, 1sc (24sc)
5) 3sc, inc *6 (30sc)
6) 2sc, inc, (4sc, inc) *5, 2sc (36sc)
7) 5sc, inc *6 (42sc)
8) 3sc, inc, (6sc, inc) *5, 3sc (48sc)
9) 7sc, inc *6 (54sc)
10-11) 54sc
12) 4sc, inc, (8sc, inc) *5, 4sc (60sc)
13-14) 60sc
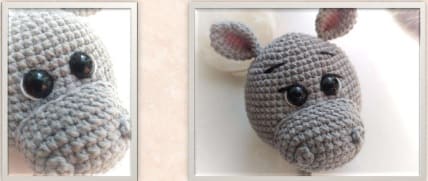
I placed my eyes in the 13th row, at a distance of 6 columns.
15) 9sc, inc *6 (66sc)
16-20) 66sc
21) 9sc, dec *6 (60sc)
22) 4sc, dec, (8sc, dec) *5, 4sc (54sc)
23) 7sc, dec *6 (48sc)
24) 3sc, dec, (6sc, dec) *5 (42sc)
25) 5sc, dec *6 (36sc)
26) 2sc, dec, (4sc, dec) *5, 2sc (30sc)
We begin to stuff the detail.
27) 3sc, dec *6 (24sc)
28) 1sc, dec, (2sc, dec) *5, 1sc (18sc)
We stuff the part tightly. Leave the thread for sewing.
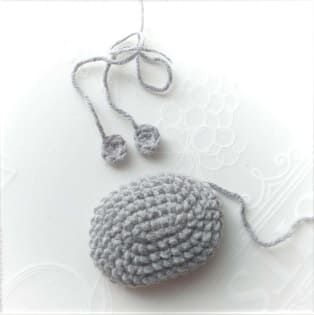
Muzzle
1) We make a chain of 6ch.
From the second loop from the hook – 4sc, 3sc in one loop, 3sc, 2sc in one loop – 12sc
2) inc, 3sc, 3 inc, 3sc, 2inc – 18sc
3) 1sc, inc, 3sc, (1sc,inc)*3, 3sc, (1sc,inc)*2 – 24sc
4) 2sc, inc, 3sc, (2sc, inc)*3, 3sc, (2sc,inc)*2 – 30sc
5) 3sc, inc, 3sc, (3sc, inc) *3, 3sc, (3sc, inc) *2 – 36sc
6-8) 36sc
Leave the thread for sewing.
Nostrils (make 2)
6 sc in MR. Slst. – leave the thread for sewing.
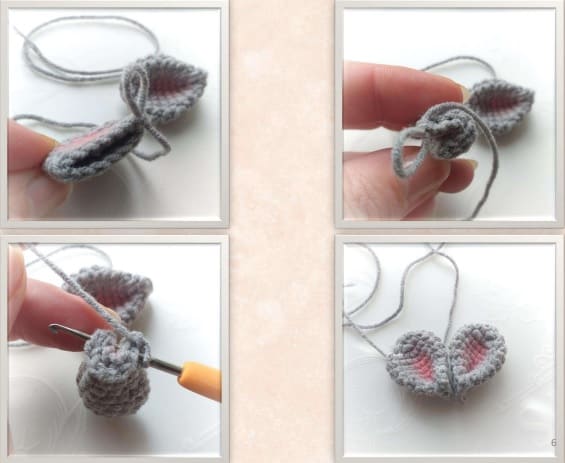
Ears
1) 6 in MR
2) 6 inc (12sc)
3) 1sc, inc *6 (18sc)
4-6) 18sc
7) dec, 7sc, dec, 7sc (16sc)
8) dec, 6sc, dec, 6sc (14sc)
9) 14sc
We do not fill the detail.
If desired, you can tint a little pink.
Next, fold the part as shown in the photo and crochet for all 4 walls of the sc.
Leave the thread for sewing.
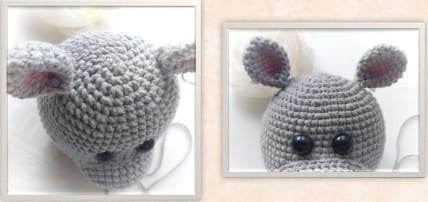
We proceed to the assembly of the head. With pins we outline the location of the muzzle and sew it on, do not forget to gradually fill it.
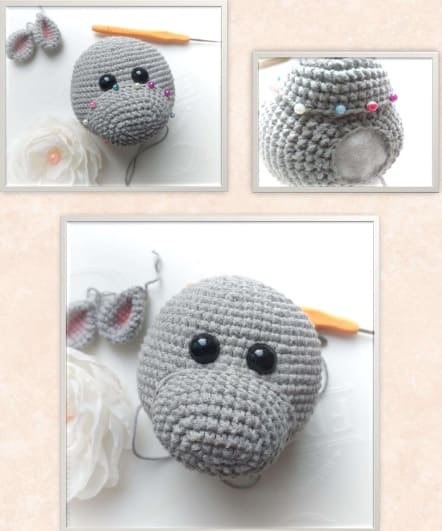
Then sew on the ears. I sewed them at the level of the 6th row.
Next, we outline and sew the nostrils. I sewed them on, capturing only the middle part. The edge of the part was not touched.
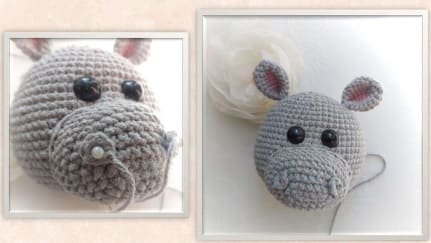
We make a muzzle! I first highlight the eyes with a white thread, then I add expressiveness with a black thread. And I add eyebrows.
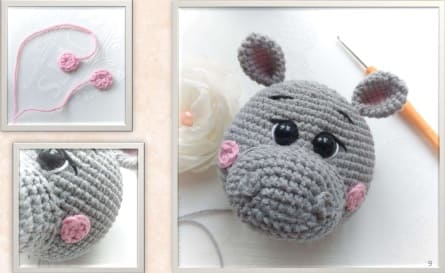
Also, if you wish, you can tie the cheeks, as I did.
Cheeks
8 sc in MR. Slst. – leave the thread for sewing.
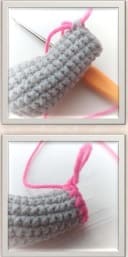
Hands
We start with the main color yarn.
1) 6sc in MR
2) 6 inc (12sc)
3) 1sc, inc *6 (18sc)
4-7) 18sc
8) dec, 16sc (17sc)
9) dec, 15sc (16sc)
10) dec, 14sc (15sc)
11) 15sc
12) dec, 13 (14sc)
13-15) 14sc
16) dec, 12sc (13sc)
17) 13sc
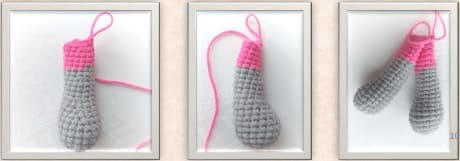
18) Change the thread to the color of the dress – 13sc
19-21) 13sc
22) dec, 11 sc (12sc)
We stuff tightly only the lower part of the hand. The top can be stuffed weakly or not stuffed at all. Otherwise, the arms may stick out to the side after sewing. After I crochet the last row, I knitted another 4sc so that the foot took the correct shape when folded. You may need to crochet more or less, as the density of knitting is different for everyone. I think from the photo it is clear how to fold the foot. Then crochet 6sc for both walls. Leave the thread for sewing if you sew. I will tie my hands.
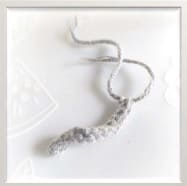
Tail
We make 13 ch. From the second loop from the hook we crochet 12 connecting posts. We leave the threads on both sides, which would then be tied to the body.
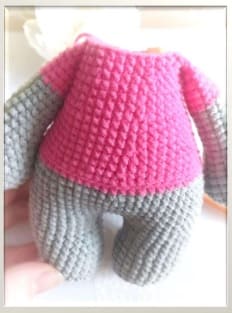
Legs + body
Main color thread.
1) 6sc in MR
2) 6inc (12sc)
3) 1sc, inc *6 (18sc)
4) 2sc, inc *6 (24sc)
5) 24sc
6) dec, dec, 9sc, inc, inc, 9sc (24sc)
7– 10) – 24sc
11) dec, dec, 10sc, inc, inc, 8sc (24sc)
12) 24sc
13-14) 24sc. Cut the thread, fasten.
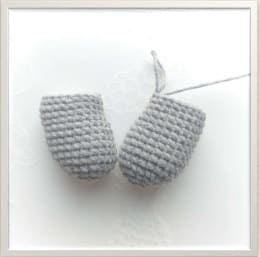
Tie the second leg in the same way. Without cutting the thread, we continue.
15) We make 3 ch. We attach the first leg, we crochet 24 sc on it, then 3 sc on the ch, 24 sc on the second leg, 3 sc on the ch. – 54 sc.
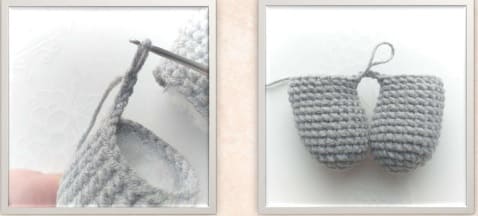
We stuff the part in the process of crochet.
16) 8sc, inc *6 (60sc)
17-22) 60sc
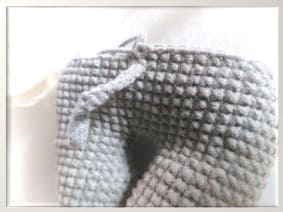
In the 22nd row we tie the tail. We try on the center of the ass and simply tie it in a knot from the wrong side.
23) 8 sc, dec *6 (54sc)
24) Changing the thread to the color of the dress – 54 sc.
25) BLO – 54 sc
26) 7sc, dec*6 (48sc)
27-28) 48sc
29) 6sc, dec*6 (42sc)
30-32) 42sc
33) 5sc, dec*6 (36sc)
34-36) 42sc
37) 4sc, dec*6 (30sc)
38-39) 30sc
40) We tie our hands. Here again, it depends on the density of your knitting. I got it like this – 6 sc, 6 sc together with the foot, 10 sc, 6 sc together with the foot, 2 sc. – 30 sc + crochet more 2 sc so that the row starts exactly in the center of the back.
41) 3sc, dec *6 (24sc)
42) Change to the main color – 2sc, dec * 6 (18sc)
43) 18sc
We stuff the body tightly. Fasten the thread, cut.
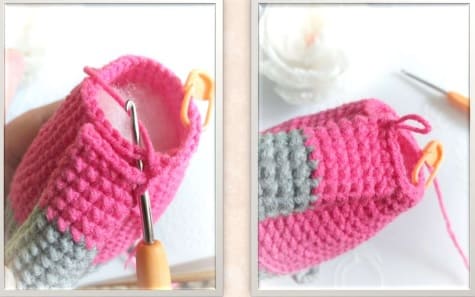
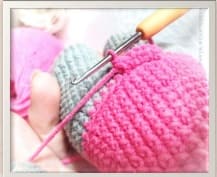
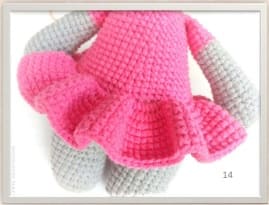
We crochet a skirt
1) We attach the thread to the 25th row and crochet for the front wall Increase in each loop – 108sc
2) 1sc, inc – to the end of the row – 162sc
3-8) 162sc
Fasten the thread, cut.
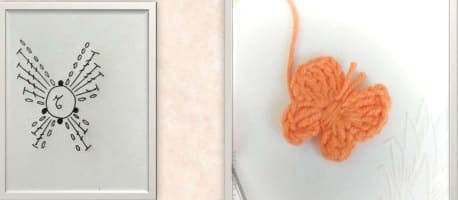
I decided to decorate hippo with a butterfly.
We sew on the head, do not forget to stuff the neck tightly so that the head didn’t move.

Leave a Comment