
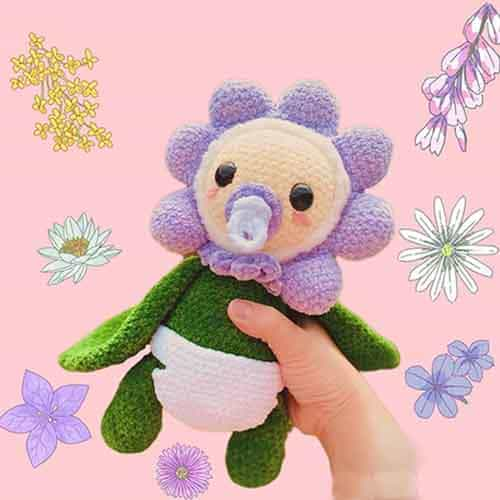
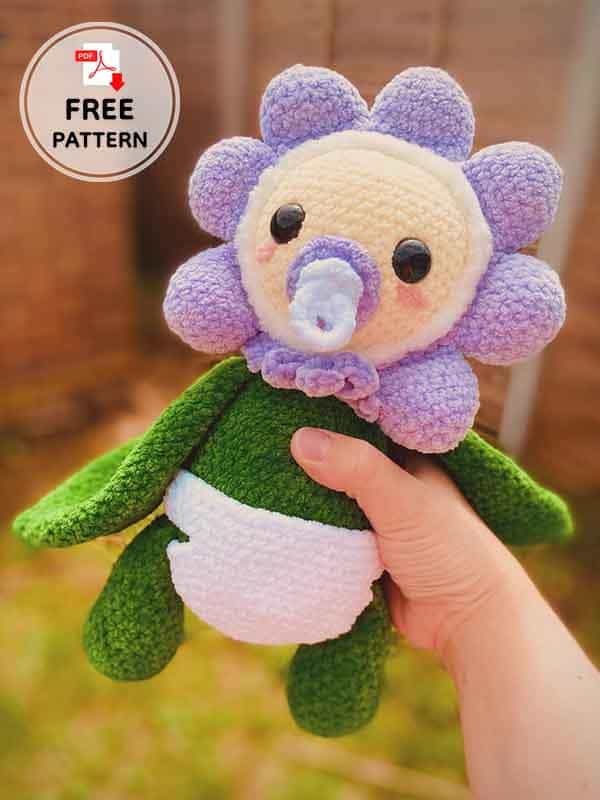
Today I brought you a very beautiful crochet flower doll. Doesn’t this wonderfully cute crochet flower doll look very beautiful? All parts of the crochet doll are made separately step by step. In other words, it may be a bit challenging for beginners. It is a detailed crochet doll from its pacifier to its bonnet. You can choose the yarn colors according to your own taste when making the flower crochet doll. The designer preferred green and lilac tones. Also, a 5 mm crochet hook will do the job. When the specified materials are used, the size of the flower crochet doll will be 12 inches. I will also add a PDF file below to make it easier for you to follow. If you wish, you can quickly download it to your device.
Design by: mycrochetden
Crochet Flower Doll Pattern
Materials and tools:
Yarn- james C brett flutterby chunky in 1x dark rich green: B48, lilac: B10, lemon yellow: B9, white: B1 and a small amount of peachy pink: B43.
1x sirdar snuggly bunny yarn in white.
Hook size – 5 mm.
Scissors.
Stitch markers.
Yarn needle.
Safety eyes – size 14 mm. Please note that plushies with safety eyes should not be given to children under 3yrs of age.
Soft toy filling.
Abbreviations:
MR- Magic ring
Sc- Single crochet
Inc- Increase
Dec- Decrease
FLO- Front loop only
Slst- Slip stitch
FO- Fasten off
The finished flower doll measures around 12 inches tall.
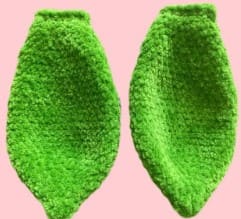
LEAFY ARMS X2
In Dark Rich Green: B48
R1: 6SC in a MR (6)
R2: SC around (6)
R3: [INC] x6 (12)
R4: SC around (12)
R5: [1SC, INC] x6 (18)
R6: SC around (18)
R7: [2SC, INC] x6 (24)
R8: SC around (24)
R9: [3SC, INC] x6 (30)
R10-20: SC around [11 rounds] (30)
R21: (3SC, DEC) x6 (24)
R22-25: SC around [4 rounds] (24)
R26: [2SC, DEC] x6 (18)
R27-28: SC around [2 rounds] (18)
R29: [1SC, DEC] x6 (12)
R30: SC around (12)
Don’t stuff. FO by doing 6SC along the opening at the top to close.
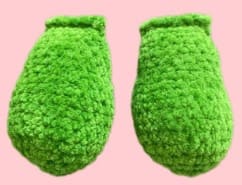
LEGS X2
In Dark Rich Green: B48
R1: 6SC in a MR (6)
R2: [INC] x6 (12)
R3: [1SC, INC] x6 (18)
R4: [2SC, INC] x6 (24)
R5-10: SC around [6 rounds] (24)
R11: [2SC, DEC] x6 (18)
R12-15: SC around [4 rounds] (18)
R16: [1SC, DEC] x6 (12)
R17-18: SC around [2 rounds] (12)
Stuff and FO by doing 6SC along the opening at the top to close.
BODY
In Dark Rich Green: B48
R1: 6SC in a MR (6)
R2: [INC] x6 (12)
R3: [1SC, INC] x6 (18)
R4: [2SC, INC] x6 (24)
R5: [3SC, INC] x6 (30)
R6: [4SC, INC] x6 (36)
R7: [5SC, INC] x6 (42)
R8: [6SC, INC] x6 (48)
R9-11: SC around [4 rounds] (48)
R12: On this round we will be attaching the legs.
Do 6SC through both the first leg and the body. Then do 18SC along the body. Then do 6SC through both the second leg and the body. Then do 18SC along the rest of the body to finish. (48)
R13-17: SC around [5 rounds] (48)
R18: [6SC, DEC] x6 (42)
R19-21: SC around [3 rounds] (42)
R22: [5SC, DEC] x6 (36)
R23: SC around (36)
R24: [4SC, DEC] x6 (30)
R25-26: SC around [2 rounds] (30)
Begin stuffing the body
R27: On this round we will be attaching the leafy arms. Start by doing 4SC along the body and then 6SC through both the first leafy arm and the body. Then do 9SC along the body and then 6SC through both the second leafy arm and the body. Then do 5SC along the rest of the body to finish. (30)
On the last stitch change to Lilac:B10 and continue stuffing the body. Do not fasten off as we will now be moving onto making the collar for the bonnet on the body.

Attaching the legs.

Attaching the leafy arms.

BONNET COLLAR
In Lilac: B10
Going back to where we finished on the body on R27, on the last stitch change to Lilac:B10.
R1: SC around (30)
R2: SLST x4, then do 26SC. CH1 and turn (30)
R3-5: Do 26SC along. CH1 and turn. [3 rounds] (26)
FO. Leave a short tail to weave in.

BOW
In Lilac: B10
R1: CH30. Second chain from the hook do 29SC along (29)
Fold the piece into a bow by making 2 loops and wrap a spare piece of yarn around the middle to keep the bow shape in place. With the remainder of the yarn, sew the bow into place on the neck, in the gap of the collar.

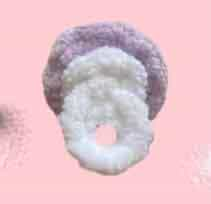
FLOWER PETALS X7
In Lilac: B10
R1: 6SC in a MR (6)
R2: [INC] x6 (12)
R3: [1SC, INC] x6 (18)
R4-7: SC around [4 rounds] (18)
R8: [1SC, INC] x6 (12)
Stuff and FO by doing 6SC across the opening at the top to close.

HEAD
In Lemon Yellow: B9
R1: 6SC in a MR (6)
R2: [INC] x6 (12)
R3: [1SC, INC] x6 (18)
R4: [2SC, INC] x6 (24)
R5: [3SC, INC] x6 (30)
R6: [4SC, INC] x6 (36)
R7: [5SC, INC] x6 (42)
R8: [6SC, INC] x6 (48)
R9-20: SC around [12 rounds]
Note: Depending on your yarn type/ thickness you may want to adjust the number of rounds needed on the head. However, any adjustments on the head will need to be taken into consideration when making the bonnet. (48)
R21: [6SC, DEC] x6 (42)
R22: [5SC, DEC] x6 (36)
Begin to stuff the head. Insert safety eyes between rounds 13 and 14 on the head. 6 stitches apart.
R23: [4SC, DEC] x6 (30)
R24: [3SC, DEC] x6 (24)
Stuff the rest of the head.
R25: [2SC, DEC] x6 (18)
R26: [1SC, DEC] x6 (12)
R27: [DEC] x6 (6)
FO. Leave a long tail and sew through the front loops of the remaining 6 stitches. Pull the yarn gently to close the hole and hide the left over yarn in the head.
To create the cheek detail, grab some Peachy Pink yarn: B43 and using a yarn needle, thread up through the bottom middle of the head and come out just under the middle of the right eye. Sew across 4 stitches twice over and then thread through the head and back out just under the middle of the left eye. Again sew across 4 stitches twice over and then thread back down through the head and out where we started (at the bottom of the head). Tie a knot to keep the yarn in place, then cut and hide the yarn tail in the head to finish.

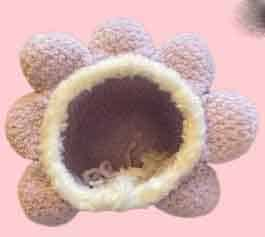
FLOWER BONNET
Starting in Lilac: B10
R1: 6SC in a MR (6)
R2: [INC] x6 (12)
R3: [1SC, INC] x6 (18)
R4: [2SC, INC] x6 (24)
R5: [3SC, INC] x6 (30)
R6: [4SC, INC] x6 (36)
R7: [5SC, INC] x6 (42)
R8: [6SC, INC] x6 (48)
R9-20: SC around. [12 rounds]
Note: You may need to adjust the number of rounds needed on the hood depending on the type/thickness of your yarn, so that the hood fits perfectly. (48)
R21: On this round we will be attaching the petals. Do 3SC along the bonnet. Then do 6SC through both the first petal and the bonnet. Repeat doing 6SC through the petal and the bonnet for the other 6 petals and then do 3SC along the rest of the bonnet to finish.
Change to Sirdar Snuggly Bunny yarn in white.
R22: [6SC, DEC] x6 (42)
FO leaving a short tail to weave in. To keep the head secured in place use the same lilac yarn: B10 that we used earlier to sew just along the edge of the bonnet and through the head. Then sew the head to the body.
DUMMY
In Lilac: B10
R1: 6SC in a MR (6)
R2: [INC] x6 (12)
R3: [1SC, INC] x6 (18)
FO leaving a long tail for sewing onto the head between R7-14.
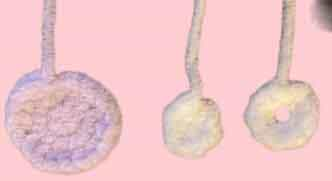
CIRCLE DETAIL OF THE DUMMY
In White: B1
R1: 6SC in a MR (6)
FO leaving a long tail to sew in the middle of the main dummy.
DUMMY HANDLE
In White: B1
R1: CH10. SC into the first CH to make a loop and then do 9SC along. (9)
FO leaving a long tail to sew onto the circle detail of the dummy.

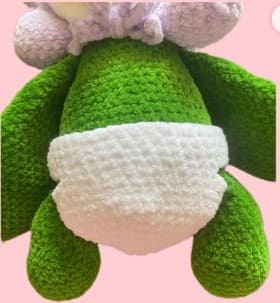
NAPPY
In White: B1
R1: 6SC in a MR (6)
R2: [INC] x6 (12)
R3: [1SC, INC] x6 (18)
R4: [2SC, INC] x6 (24)
R5: [3SC, INC] x6 (30)
R6: [4SC, INC] x6 (36)
R7: [5SC, INC] x6 (42)
R8: [6SC, INC] x6 (48)
R9-12: SC around [4 rounds] (48)
R13: CH10, skip 10 stitches, then do 14SC along the nappy. Then CH10, skip 10 stitches and finally do 14SC along to finish. (48)
R14-16: SC around [3 rounds] (48)
R17: [6SC, DEC] x6 (42)
FO leaving a short tail to weave in.
Well done!

Leave a Comment