
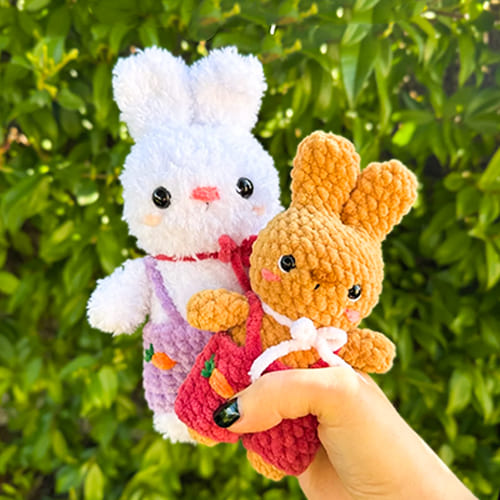
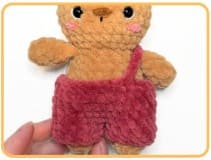
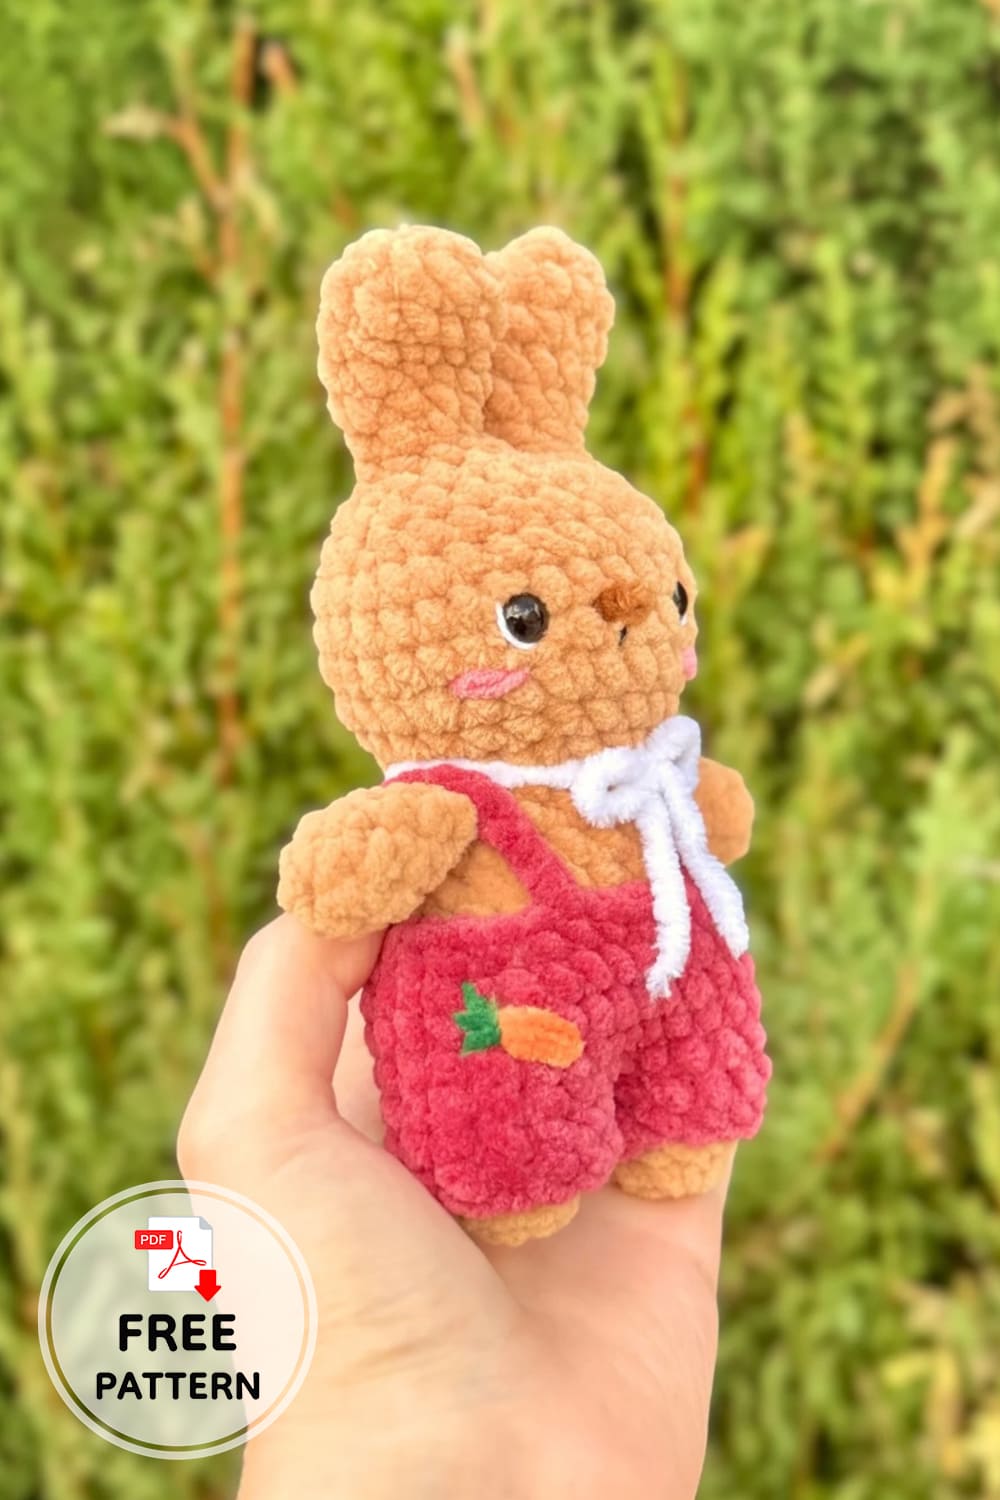
If you love quick amigurumi projects, this no sew crochet bunny pattern is such a fun little make for spring. Its soft plush texture, tiny body, and sweet overalls give it that handmade charm everyone loves. A good crochet no sew bunny pattern is perfect when you want to skip extra assembly and enjoy a smoother, more relaxing project from start to finish.
This adorable amigurumi bunny is a great choice for Easter baskets, nursery decor, or as a cute addition to your collection of handmade amigurumi crochet animals. The compact size also makes it beginner-friendly, especially if you enjoy working with chenille or velvet yarn for that extra cuddly finish. If you’ve been searching for a crochet easter bunny pattern that feels modern, playful, and easy to follow, this style is a lovely choice.
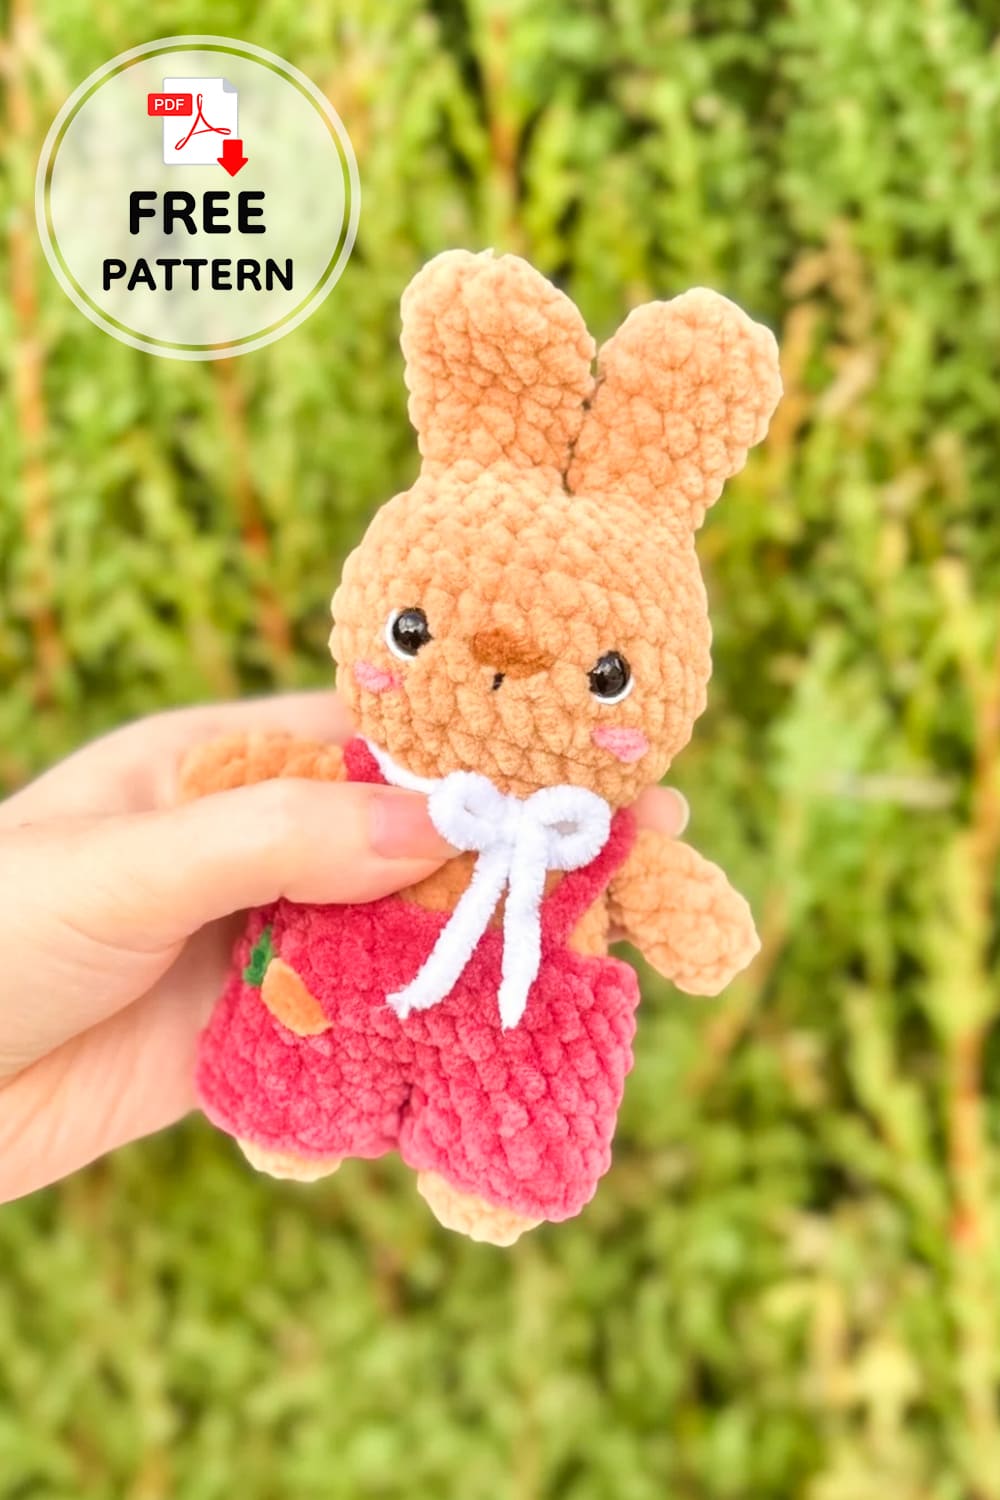
No sew crochet bunny nuggy pattern
What makes this bunny extra special is its cheerful outfit and soft pastel look, which instantly gives it a cozy spring vibe. It’s small enough to finish in one sitting, yet detailed enough to stand out in photos, gift guides, or pattern roundups. Whether you’re crafting for fun or sharing seasonal inspiration, this bunny is sure to bring smiles.
Designer: crochetedbylilas
Materials:
• Yarn used: Hobbii- honey bunny
– Light brown (bunny)
– Raspberry (pants)
– Dark brown (embroidery)
– Orange (embroidery)
– Pink (embroidery)
– Green (embroidery)
– Black (embroidery)
– White (embroidery)
• Crochet hook: 4 mm
• Safety eyes: 8 mm
• Darning needles
• Stuffing
• Stitch markers
• Scissors
Stitch abbreviations (US terms):
MR- magic ring
sc- single crochet
inc- increase
dec- decrease
slst- slip stitch
ch- chain
FLO- front loop only
st(s)- stitch(es)
Rnd(s)- round(s)
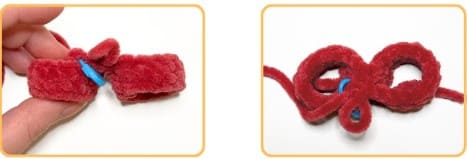
Arms (x2)
Be sure to crochet the arms before the body, as we’ll attach them while working on the body.
In light brown:
Rnd 1. 6 sc in MR (6 st)
Rnd 2-5. (4 rnds): 6 sc (6 st)
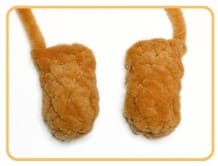
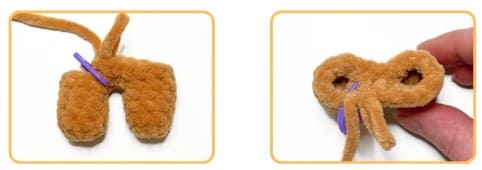
Stuff. Fold the work in half and make 3 sc by stitching in both layers.
FO and weave in the ends. (see photo)
Legs (x2)
In light brown:
Rnd 1. 8 sc in MR (8 st)
Rnd 2-5. (4 rnds): 8 sc (8 st)
First leg: FO and weave in the ends.
Second leg: Do not cut the yarn, as we will begin the body by joining the legs.
Body/ head
Rnd 1. Ch 2 on the second leg. Then, join it to the first leg with 1 sc. Mark the last st made (=first st of the Rnd).
Next, 7 sc, 2 sc in one side of the chain, 8 sc, 2 sc in the other side of the chain. (20 st).
Rnd 2. *3sc,1inc* x5 (25 st)
Rnd 3-4. (2 rnds): 25 sc (25 st)
Rnd 5. *3sc,1dec* x5 (20 st)
Rnd 6-7. (2 rnds): 20 sc (20 st)
Rnd 8. *3sc,1dec* x4 (16 st)
Start stuffing.
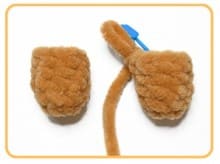
Rnd 9. 2sc, 3sc through one arm and the body, 5sc, 3 sc through the other arm and the body, 3 sc (16 st)
Attach the arms to the body.
Arms attached.
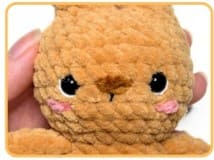
Body finished.

Finish stuffing the body before starting the head.
Rnd 10. FLO: *1sc,1inc* x8 (24 st)
Rnd 11. 24 sc (24 st)
Rnd 12. *2sc,1inc* x8 (32 st)
Rnd 13-15. (3 rnds): 32 sc (32 st)
Insert the safety eyes between rnds 13 and 14, about 5 sts apart.
Rnd 16. *2sc,1dec* x8 (24 st)
Rnd 17. 24 sc (24 st)
Rnd 18. *2sc,1dec* x6 (18 st)
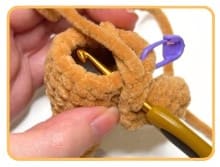
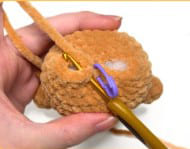
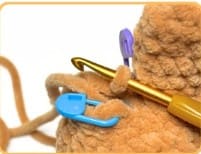
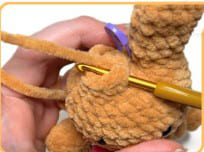
Crochet 1 slst by going through sts 1 and 10 of Rnd 18. You now have the 2 holes where the ears will be. Mark st 11 of Rnd 18 (we’ll use it to start the second ear).
Crochet 1 slst.

After Rnd 19 (a). (I marked the slst with a stitch marker but you don’t have to).
Start Rnd 20 (a) in the first st of Rnd 19 (a).
We’ll now start crocheting the first ear. Don’t stuff the ears.
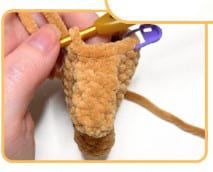
Rnd 19 (a): sc 8 starting in st 2 and ending in st 9 of Rnd 18 (8 st)
Rnd 20 (a): 8 sc (8 st)
Rnd 21 (a): *1inc,3sc* x2 (10 st)
Rnd 22 (a): 10 sc (10 st)
Rnd 23 (a): *4sc,1inc* x2 (12 st)
Rnd 24 (a): 12 sc (12 st)
Rnd 25 (a): *1sc,1dec* x4 (8 st)
FO and close the opening by weaving your needle through the FLO of Rnd 25 (a).
First ear finished.
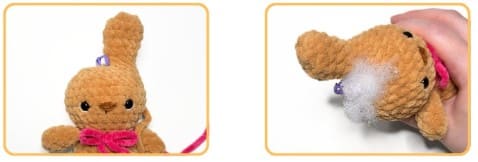
Finish stuffing the head.
We’ll now start crocheting the second ear:
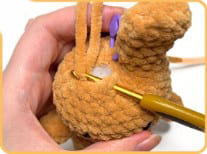
Attach light brown yarn in st 11 of Rnd 18 (marked stitch).
Rnd 19 (b): sc 8 starting in st 11 and ending in st 18 of Rnd 18 (8 st)
Attach light brown yarn.
After Rnd 19 (b).
Start Rnd 20 (b) in the first st of Rnd 19 (b).
Rnd 20 (b): 8 sc (8 st) (14)
Rnd 21 (b): *1inc, 3sc* x2 (10 st)
Rnd 22 (b): 10 sc (10 st)
Rnd 23 (b): *4sc,1inc* x2 (12 st)
Rnd 24 (b): 12 sc (12 st)
Rnd 25 (b): *1sc,1dec* x4 (8 st)
FO and close the opening by weaving your needle through the FLO of Rnd 25 (b).
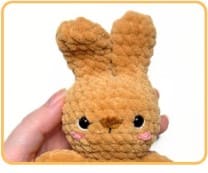
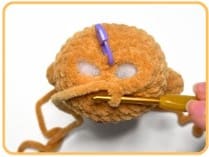
Using dark brown yarn, embroider the nose between the eyes.
Add a thin black line under the nose.
Using thin white yarn, embroider white around the outer side of the eyes.
Using pink yarn, add cheeks between Rnds 3 and 4.
Pants
Legs (x2):
With raspberry yarn, ch 13 and slst into the first chain to form a circle.
Rnd 1: ch1, 13 sc (13 st)
For the first leg: FO and weave in the ends.
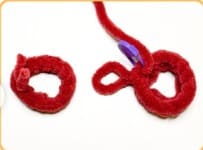
For the second leg: Do not FO or cut the yarn, as we will continue the pants by joining the legs.
Pants body:
Rnd 1. Ch 2 on the second leg. Then, join it to the first leg with 1 sc. Mark this sc (=first st of the rnd).
Next, 12 sc, 2 sc in one side of the chain, 13 sc, 2 sc in the other side of the chain (30 st).
Rnd 2-5: (4 rnds): 30 sc (30 st)
Rnd 6: *8sc,1dec* x3 (27 st)
Without cutting the yarn, put the pants on the bunny with the back of the pants at the stitch marker.
Next, ch 12 (or adjust as needed) and join the chain to the front of the pants with 1 slst. FO and weave in the ends.
Attach raspberry yarn at the back of the pants, next to the existing chain.

Ch12 (or adjust as needed) and join the chain to the front of the pants with 1 slst.
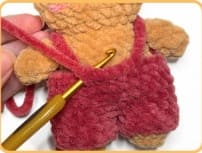
FO and weave in the ends. For reference, each of my chains is 3 sc apart at the front.
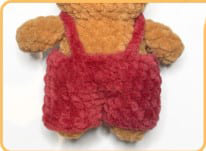
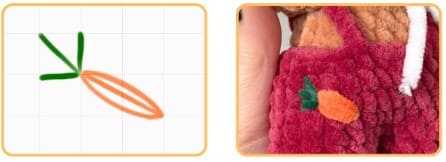
Embroideries:
Embroider a carrot on the pants using orange and green yarn.
Tie a bow around the bunny’s neck using a piece of white yarn.
And you’re done!
Leave a Comment