
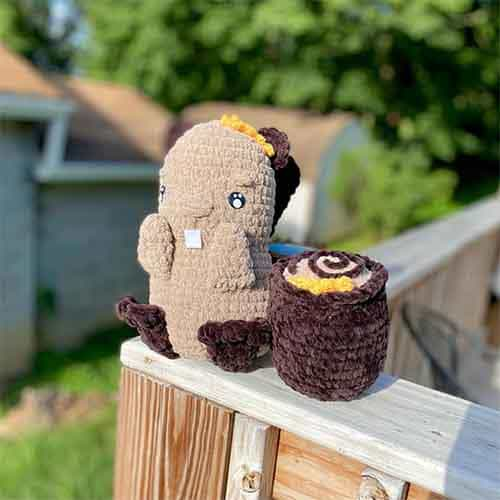
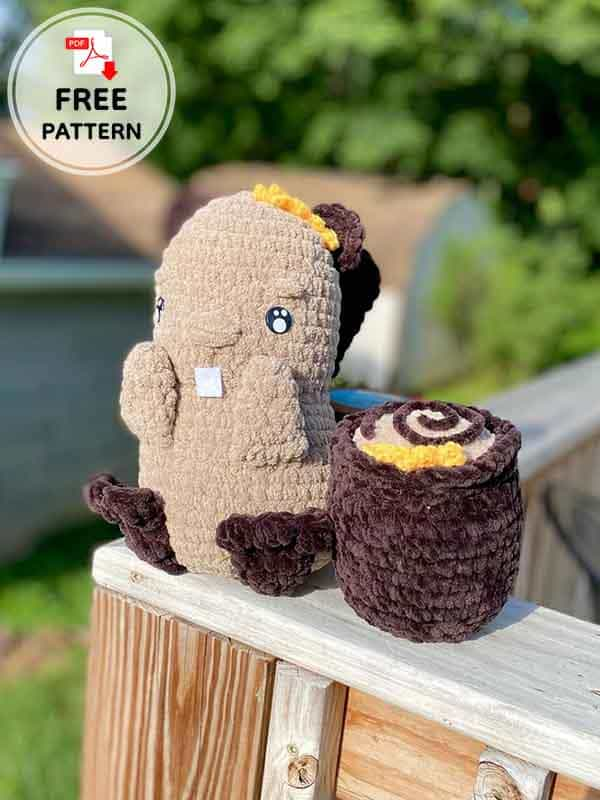
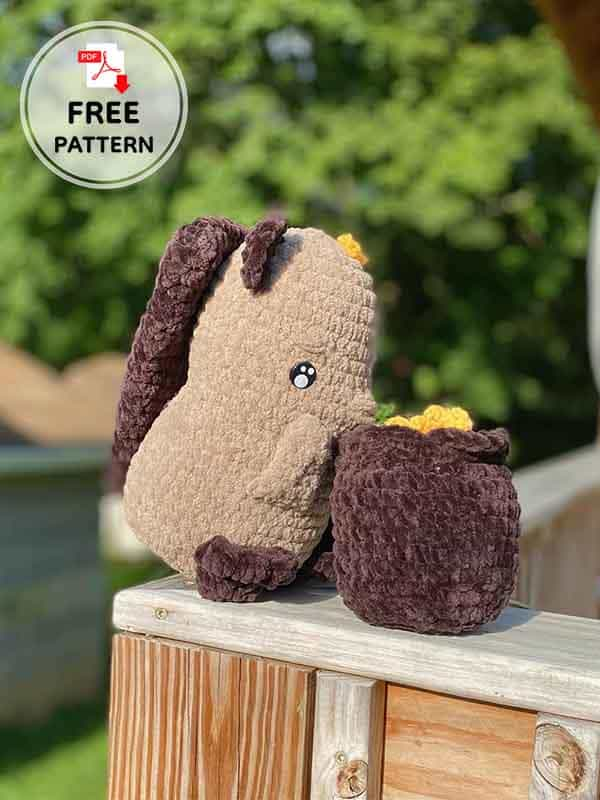
How about making a crochet beaver using a plush yarn? I think it will be a great amigurumi work. Today, in crochet animals, the beaver crochet pattern is with you. You will make a crochet beaver and a tree stump next to it. After the parts of the amigurumi beaver are made separately, you can make the tree stump and fix it to the beaver’s hands. Or you can leave it next to it as a decoration. I can say that it is a beautiful amigurumi animal that children will love. I think you will have a lot of fun while making it. A great crochet beaver pattern is with you for those who want different amigurumi animals.
Design by: knotted.angels
Beaver Crochet Pattern
Materials:
• Yarn in 4 colors (Alize Softy Mega & Alize Velluto)
– base color brown for the body
– dark brown for the tail, ears, feet, log and embroidery
– light brown for the log
– orange for the autumn leaves
• thinner white yarn for eye embroidery (YarnArt Dolce)
• fabric glue
• felt for the teeth
• crochet hook 6.5mm
• stuffing
• safety eyes 16mm
• tapestry needle
• stitch markers
• scissors
Abbreviations:
Rnd- Round
Ch- Chain
St- Stitch
Sc- Single crochet
Dc- Double crochet
Inc- Increase
Dec- Decrease
Slst- Slip stitch
FLO- Front loop only
BLO- Back loop only
Arms X2
Rnd1: 6sc in magic ring (6)
Rnd2: 6sc (6)
Rnd3: (2sc, inc) x 2 (8)
Rnd4-5: 8sc [2rnds] (8)
Don’t stuff. Make 4 sc through both sides to close the arms. F/O without tail.
Foot X2
Rnd 1. 6 sc in magic ring (6)
Rnd 2. (sc,inc)x3 (9)
Rnd 3. 9 sc (9)
Rnd 4. (sc,inc,sc)x3 (12)
Rnd 5. 12 sc (12)
Rnd 6. (BO,slst)x3, leave the other stitches unworked.
F/O and leave a long tail to sew the feet opening together and attach to the body.
Don’t stuff.

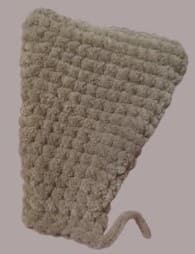
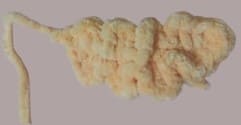
Tail
Rnd 1. 17 ch, skip to 2nd st from hook, 15 sc, inc in the last ch, 15 sc on the other side of the ch (32)
Rnd 2-3. 32 sc (2 rnds) (32)
Rnd 4. (sc,dec,11sc,dec)x2 (28)
Rnd 5-6. 28 sc (2 rnds) (28)
Rnd 7. sc, dec, 10 sc, dec, sc, dec, 8 sc, dec (24)
Rnd 8-9. 24 sc (2 rnds) (24)
Rnd 10. sc, dec, 8 sc, dec, sc, dec, 6 sc, dec (20)
Rnd 11-12. 20 sc (2 rnds) (20)
Rnd 13. sc, dec, 6sc, dec, sc, dec, 4 sc, dec (16)
Rnd 14-15. 16 sc (2 rnds) (16)
Rnd 16. dec, sc, dec, 3sc, dec, sc, dec, 3sc (12)
Rnd 17. 12 sc (12)
Add or remove sc until you are on the corner. Don’t stuff 6 sc through both sides.
F/O without tail.
Ears X2
Rnd 1. 5 sc in magic ring (5)
Rnd 2. ch 1 and turn, inc, 3sc, inc (7)
F/O and leave a long tail for sewing.
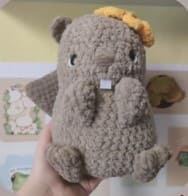
Head and body
Rnd 1. 8 sc in magic ring (8)
Rnd 2. 8 inc (16)
Rnd 3. (sc,inc)x8 (24)
Rnd 4. (sc,inc,sc)x8 (32)
Rnd 5. 32 sc (32)
Rnd 6. (7sc,inc)x4 (36)
Rnd 7-10. 36 sc (4 rnds) (36)
Rnd 11. 16sc, 4 inc, 16 sc (40)
The 4 inc are the snout.
The nose will be embroidered over the middle 2 inc.
Rnd 12. 40 sc (40)
Rnd 13. 17sc, 4dec, 15sc (30)
Rnd 14. (4sc,dec)x6 (30)
Start stuffing the head. Add the eyes between Rnd 10-11, 1st next to the snout.
Rnd 15. FLO (4sc,inc)x6 (36)
Rnd 16. (5sc,inc)x6 (42)
Rnd 17. 42 sc (42)
Rnd 18. (3sc,inc,3sc)x6 (48)
Rnd 19. 20sc, 4sc with arm, 4sc, 4sc with arm, 16 sc (48)
Rnd 20-25. 48 sc (6 rnds) (48)
Rnd 26. 2sc, 6sc with tail, 40 sc (48)
Adjust the placement of the arms and tail if necessary.
Rnd 27. (2sc,dec,2sc)x8 (40)
Rnd 28. (sc,dec,sc)x10 (30)
Start stuffing the body.
Rnd 29. (sc,dec)x10 (20)
Rnd 30. 10 dec (10)
Fasten off and close the hole. The bottom of the body should be flat.
Tree log
Rnd 1. 8 sc in magic ring (8)
Rnd 2. 8 inc (16)
Rnd 3. (sc,inc)x8 (24)
Rnd 4. (sc,inc,sc)x8 (32)
Rnd 5. BLO 32 sc (32)
Rnd 6-11. 32 sc (6 rnds) (32)
Rnd 12. (7sc,inc)x4 (36)
Rnd 13. BLO (4sc,dec)x6 (30)
Rnd 14. (3sc,dec)x6 (24)
Start stuffing.
Rnd 15. (sc,dec)x8 (16)
Rnd 16. 8 dec (8)
Fasten off and close the hole.
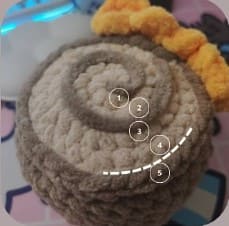
For the top edge, make a slip knot on your hook and slst around between Rnd 4-5, below the unworked front loops. If you slst into the front loops, the light brown would show through. For the bottom edge, do the same between Rnd 12-13. Take a piece of dark brown yarn and glue a spiral on top.
Leaf X2
Everything written inside is worked into the same stitch.
Rnd 1. ch 11, sc, [(dc,ch2,slst],slst,ch2)x3, dc, sc, 3sc in last ch, continue on the other side [(dc,ch2,slst),slst,ch2)x3, dc, sc
F/O with a long tail for sewing.
Assembly
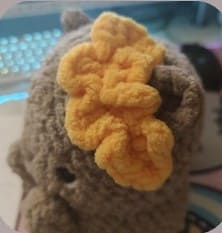
Leaves: Sew one around the right ear of the beaver. The other one goes on the log, right under the edge.
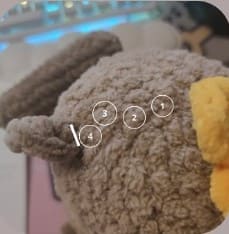
Ears: Sew onto Rnd 4-6, bending them a little.
Tail: To make it stay up, just attach it a bit to the back of the body.
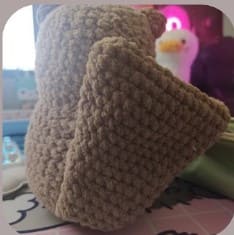
Arms: To make them stay up, just attach it a bit to the body.
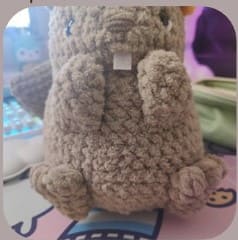
Feet: Place onto Rnd 22-27. Only attach the lower half of the foot. They are approx. 8 stitches apart.
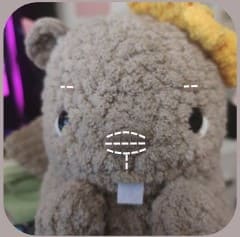
Embroidery:
Nose: 3x over the 2inc of Rnd 11, and one line 1st downwards.
Eyebrows: 1st above the eye, 1st wide.
Teeth: white square 1st under the nose.
You’ve completed your beaver crochet pattern, congratulations!
Leave a Comment