
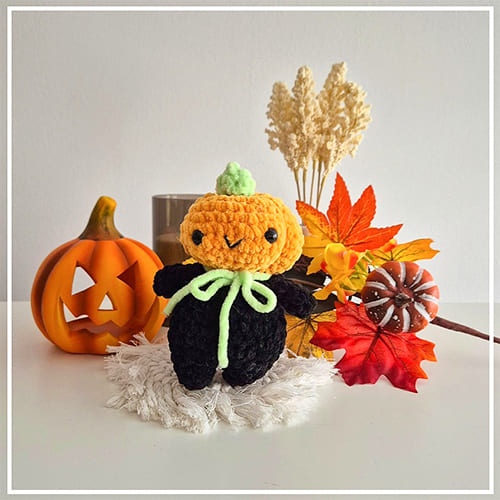
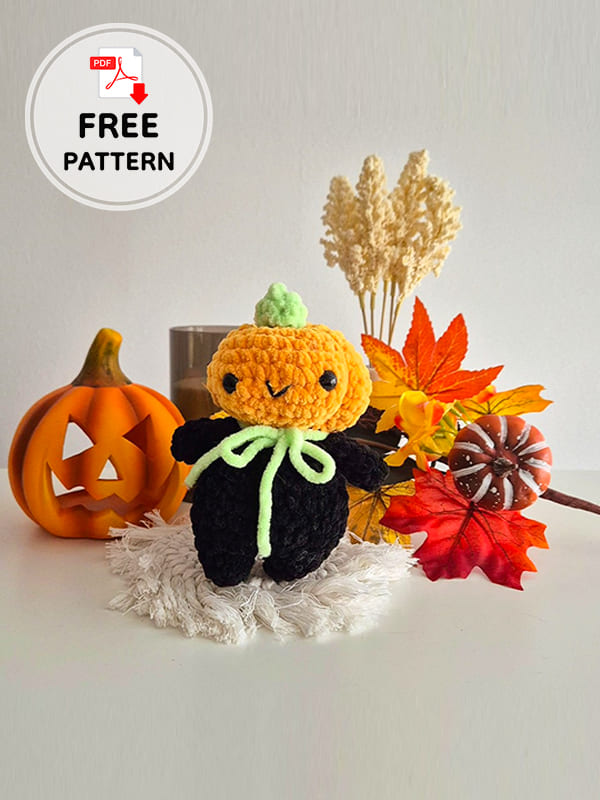
I continue with Halloween amigurumi free patterns. Today I came to you with a very nice pumpkin man amigurumi doll. This crochet doll is suitable for beginners and can be made super fast. I think beginners will be able to do it too. The head of the pumpkin man crochet doll is made separately, the legs and body are made in one piece. Finally, you make the arms and it is finished. You can go down for more details.
Design by: iuli.crochets
Pumpki Man Amigurumi Doll
Abbreviations:
R- Row
Ch- Chain
MR- Magic ring
Sc- Single crochet
Inc- Increase
Dec- Decrease
Slst- Slip stitch
Materials:
• Velvet yarn in orange, black, light green, light pink (cheeks)
• 4.5mm crochet hook/hook matching your yarn’s weight
• 8mm safety eyes
• Recommended: sport weight yarn in black and light brown
• Fiber Filling, scissors, yarn needle.
Head – (in orange)
R1: 6ch, begin in 2nd chain from hook 4sc, inc in last chain, 4sc on the other side of the chain, inc (12)
R2: (sc, inc) x6 (18)
R3: (sc, inc, sc) x6 (24)
R4: sc around (24)
R5: (2sc, inc, sc) x6 (30)
R6: (2sc, inc, 2sc) x6 (36)
R7: sc around (36)
R8: (2sc, dec, 2sc) x6 (30)
R9: (2sc, dec, sc) x6 (24)
Insert eyes between R7-R8, 5 stitches apart, while looking from the top, place them on the long side of the R1 oval.
Begin stuffing.
R10: (sc, dec, sc) x6 (18)
R11: (sc, dec) x6 (12)
Finish stuffing the head, sl st and fasten off, leave a long tail for sewing.
Legs- make 2 (in black) + Body
R1: 6sc in MR (6)
R2: sc around (6)
R3: (sc, inc) x3 (9)
After finishing the first leg, cut off the yarn. When making the second leg, do not fasten off and attach it to the first leg by doing 1 sc on any of the stitches of leg 1.
R4: counting the previous sc, sc around both legs (18)
R5: (sc, inc, sc) x6 (24)
R6-R7: sc around (24 x2)
R8: (4sc, dec) x4 (20)
R9: (8sc, dec) x2 (18)
Stuff the legs and body.
R10-R11: sc around (18 x2)
R12: (sc, dec) x6 (12)
Finish stuffing, sl st and fasten off.
Arms-make 2 (in black)
R1. 6 sc in MR (6)
R2-4. sc around (6×3)
Do not stuff the arms.
R5. Fold the arms in half and 3sc through both sides of the stitchs (3)
Slst and fasten off. Leave a long tail for sewing.
Little stem- (in light green)
R1. 6 sc in MR (6)
R2-3. sc around (6×2)
Slst and fasten off. Leave a long tail for sewing.
Assembly
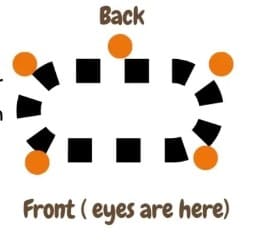
Before sewing the head to the body, make sure to create the dents of the pumpkin as so: first look at your pumpkin man’s head from the top, you should have an oval at the top where R1 is. The face should be located on one of the long sides of the pumpkin. Drag a long piece of orange velvet yarn through the head, and begin making the dents. There should be 5 dents as shown in the diagram on the next page. To create the dents in the head, drag the orange velvet yarn from the top to the bottom of the head, alternating between sewing under and above the Rows. when reaching the bottom of the head, make sure to pull on the yarn to form the dent before moving on to the next dent.
Start sewing the dents from the coloured dots shown in the diagram. The front part should be wider than the rest, about 2 stitches from the eyes to each side.
After you have finished sewing the head dents, drag brown sporting weight yarn through the head and over each of the dents to create lines.
Next, place the head onto the body, make sure to align the eyes to the legs properly, and sew them together with the yarn tail from the head. Next, position the arms right under the head and sew the to the last row of the body, on both sides of the body.
Sew the little sprout right on top of the head, on R1.
Add a little V shaped mouth to the pumpkin (images on the next page) using the black sporting weight yarn. Also add to little lines for blush one row under and one stitch to the side of each eye. If you want, you may also give your pumpkin a little bow.

Leave a Comment