
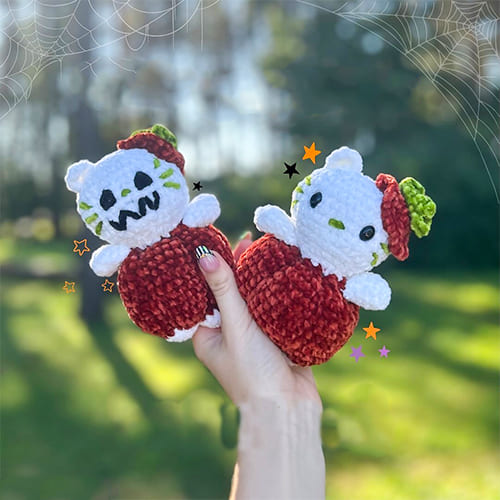
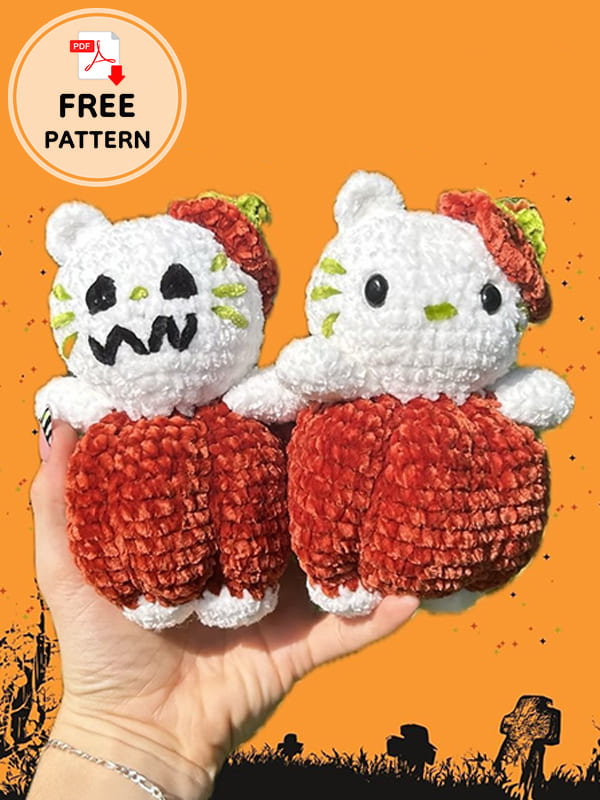
Pumpkin hello kitty amigurumi pattern with you. This spooky hello kitty crochet pattern prepared for Halloween looks great. I shared a very cute hello kitty crochet pattern before, yes, this time it’s a little spooky but also sweet. You can prepare a nice surprise for children on Halloween. Children who love hello kitty amigurumi will love this. Follow the detailed hello kitty crochet pattern explanation step by step and complete it.
Design by: foufiscrochet
Hello kitty amigurumi pattern
Materials:
White yarn,
Orange yarn,
Brown yarn,
Green yarn,
Crochet hook,
Stuffing,
Safety eyes,
Yarn needle,
Scissors,
Stitch marker (optional).
Abbreviations:
R- Round
MR- Magic ring
Sc- Single crochet
Ch- Chain
Inc- Increase
Dec- Decrease
Slst- Slip stitch
BLO- Back loop only
St- Stitch
Step 1: Arms (make 2)
Use white:
R1. 4 sc in MR (4)
R2. inc x4 (8)
R3-6. sc around (8) (4 rounds)
Fasten off and stuff lightly (optional).
Step 2: Ears (make 2)
Use white:
R1. 4 sc in MR (4)
R2. 2 sc in first st, 3 sc in second st, 2 sc in third st, slst in fourth st (8)
Fasten off.
Step 3: Legs (make 2)
Use white:
R1. 6 sc in MR (6)
R2. inc x6 (12)
R3. sc around (12)
Fasten off leg 1, leave a tail.
For leg 2, don’t fasten off, continue on step 4.
Step 4: body
Change to orange:
R4. Place hook in leg 1 and sc around leg, 1 join back to leg 2 and sc around. Now your two legs should be joined together (24).
Make sure that the tail of leg 1 is out.
R5. (3sc,inc)x6 (30)
R6. (4sc,inc)x6 (36)
R7-14. sc around (36) (8 rounds)
Use the tail from leg 1 to sew closed the gap between the legs, start stuffing, continue to stuff as you go.
R15. (4sc,dec)x6 (30)
R16. (3sc,dec)x6 (24)
You will now attach the arms on this row (R17).
R17. dec x3, dec x2 through both sides of the arm and the body, dec x4, dec x2 through both sides of the arm and the body, dec (12)
Continue stuffing, don’t fasten off, continue on step 5.
Step 5: Head
Change to white:
R18. (sc,inc)x6 (18)
R19. (2sc,inc)x6 (24)
R20. (3sc,inc)x6 (30)
R21. (4sc,inc)x6 (36)
R22-26. sc around (36) (5 rounds)
R27. (4sc,dec)x6 (30)
Place eyes between R24 and R25, 6 stitches apart or ignore if you make the scary hello kitty.
You will now sc the ear on these rounds (R28-30): R28 needs to start in the middle of your project, you might need to do some extra sc to end up there before you continue as follows.
R28. (3sc,dec)x4, 2sc, sc through the ear and the head (the rounded side towards the top), dec, 3sc, dec (24)
R29. (2sc,dec)x4, sc, sc, through the ear and the head, dec, 2sc, dec (18)
R30. (sc,dec)x4, sc through the ear and the head, dec, sc, dec (12)
Stuff the head.
R31. dec x6 (6)
Fasten off, close the gap.
Pumpkin hat
Use brown:
R1. 6 sc in MR (6)
R2. BLO (sc,dec)x2 (4)
R3-4. sc around (4) (2 rounds)
Change to orange:
R5. inc x4 (8)
R6. inc x8 (16)
R7. (sc,inc)x8 (24)
R8. (2sc,inc)x8 (32)
Fasten off, leave a long tail for sewing.
Bow
Use green:
Part 1.
R1. Ch 6
R2. 4 sc in second ch from hook, then sc, slst, sc, 4 sc in last ch, continue on the other side of the chains, sc, slst, sc, slst in first st of the round.
Fasten off.
Part 2.
4 sc in MR, slst in first sc.
Fasten off, leave a long tail for sewing.
Sew part 2 of the bow on part 1.
Details
Sew the pumpkin hat between R30 and R26 on the top of the head using this method.
Pull tight to give the hat a nice wrinkled shape.
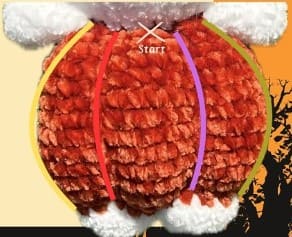
You will now shape the body into a pumpkin:
With a long orange thread divide the pumpkin body in six sections using this method.
Pull tight to give it a nice pumpkin shape.
Sew the bow on the brown stem.

For the scary kitty.
In black, embroider the eyes in triangle shapes, 2 stitches wide.
In black, embroider the mouth following a zig zag pattern from R22 to R23 as shown on the picture.

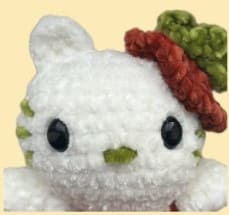
In green, embroider the nose between R19 and R20, embroider two (or three) whiskers on the hat side of the head and three whiskers on the other side.
Leave a Comment