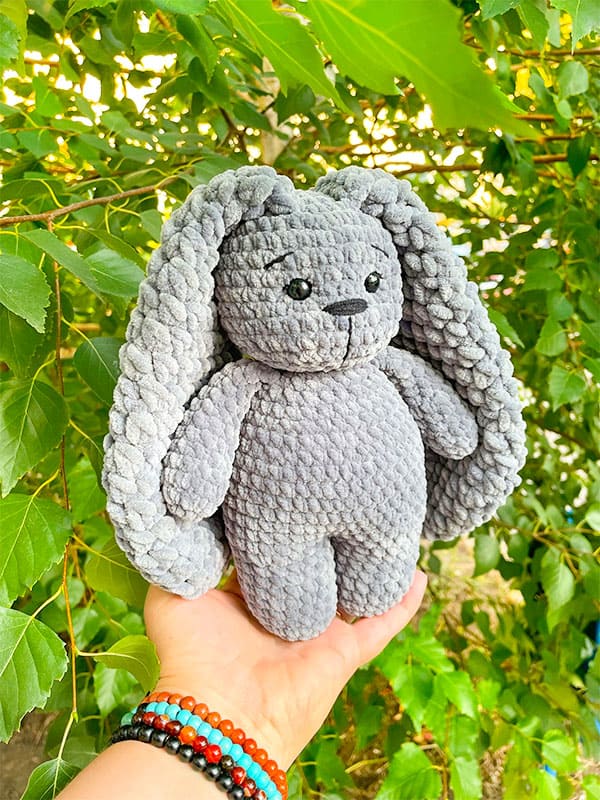
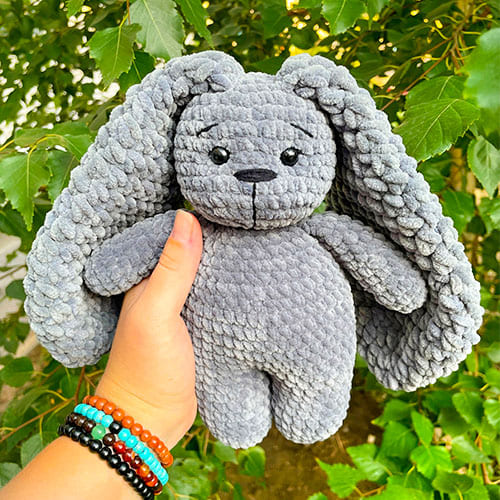
I am sharing the most popular plush amigurumi bunny pattern with you completely free of charge. The name of the cute amigurumi bunny is coal. I would like to thank the pattern designer for sharing it with us for free. The materials you will use while embroidering the cute crochet bunny are listed below. When you use them, your bunny’s size will be 20 cm. This size may also vary depending on the yarn you use, the crochet hook, your knitting technique and the tightness of the stuffing. Follow this easy amigurumi pattern step-by-step instruction right now and complete the pattern. If you’re a beginner, don’t worry, it’s just the pattern for you.
Coal Amigurumi Bunny Free PDF Pattern
Designer: Alena Ryabushkina
Necessary materials
• Dolce YarnArt, gray 760 – 1-1.5 skeins
• Black yarn for muzzle decoration (I have YarnArt Jeans)
• Strong thread for tightening, such as white cotton yarn or YarnArt Jeans
• Safety eyes 8-10 mm
• Crochet hook 4 mm
• Thread in the color of the yarn for sewing on details
• Needle for stitching details
• Row start markers
• Fiberfill for stuffing
When using these materials, the bunny will be 20 cm tall.
Abbreviations
MR: Magic ring
Sc: Single crochet
Ch: Chain
Dec: Decrease
Inc: Increase
Hdc: Half double crochet
Hands (2 pcs)
1) 6 sc in MR (6)
2) 6 inc (12)
3-4) 12 sc (12)
5) (4sc, dec) х2 (10)
6-7) 10 sc (10)
8) (3 sc, dec) (8)
9-11) 8 sc (8)
Fold and crochet over both edges.
Fasten the thread and leave the tip for sewing.
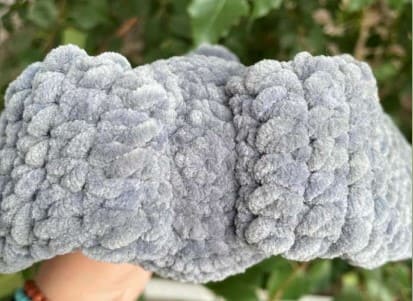
Ears (2 pcs)
1) 6 hdc in MR (6)
2) 6 inc from hdc (12)
3) (1 hdc, inc) х 6 (18)
4) (2 hdc, inc) х 6 (24)
5- 8) 24 hdc (24)
9) (10 hdc, dec ) х 2 (22)
10) 22 hdc (22)
11) (9 hdc, dec ) х 2 (20)
12-13) 20 hdc (20)
14) (8 hdc, dec ) х 2 (18)
15-16) 18 hdc (18)
17) (7 hdc, dec ) х 2 (16)
18) (6 hdc, dec ) х 2 (14)
19) (5 hdc, dec ) х 2 (12)
20-22) 12 hdc (12)
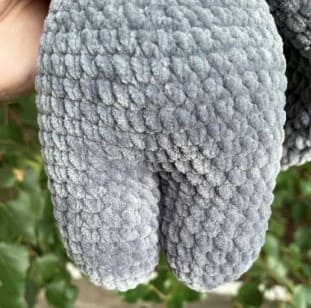
Legs – body
First leg:
1) 6 in MR (6)
2) 6 inc (12)
3) (1 sc, inc) х 6 (18)
4-10) 18 sc (18)
Thread fasten, cut.
Second leg:
1) 6 in MR (6)
2) 6 inc (12)
3) (1 sc, inc) х 6 (18)
4-10) 18 sc (18)
Do not cut the thread, connect the 1st leg with the 2nd leg through the connecting column. Next, we continue to knit on the 1st and 2nd leg according to the scheme.
11) 36 sc (36)
12) (5 sc, inc) х 6 (42)
13-18) 42 sc (42)
19) (5 sc, dec) х 6 (36)
20) 36 sc (36)
21) (4sc, dec) х 6 (30)
22) 30 sc (30)
23) (3sc, dec) х 6 (24)
24) Knitting hands: put your hands to the body and align them exactly above the hips.
25) (2sc, dec) х 6 (18)
26) 18 sc (18)
Fasten the thread and leave the tip for sewing on the head.
Head
1) 6 sc in MR (6)
2) 6 inc (12)
3) (1sc, inc) х6 (18)
4) (2sc, inc) х6 (24)
5) (3sc, inc) х6 (30)
6) (4sc, inc) х6 (36)
7-13) 36 sc (36)
14) (4sc, dec) х6 (30)
17) (3sc, dec) х6 (24)
18) (2sc, dec) х6 (18)
19) (1sc, dec) х6 (12)
20) 6 dec (6)
Pull the remaining loops with a needle, fasten the thread and cut.
Eyes: determine the center between 9 and 10 next, step back to the right and left in 2-3 loops and insert eyes into 3 or 4.

Tail
1) 8 sc in MR (8)
2) 8 inc (16)
3-4) 16 sc (16)
5) 8 dec (8)
Thread fasten and cut.

Assembly and decoration
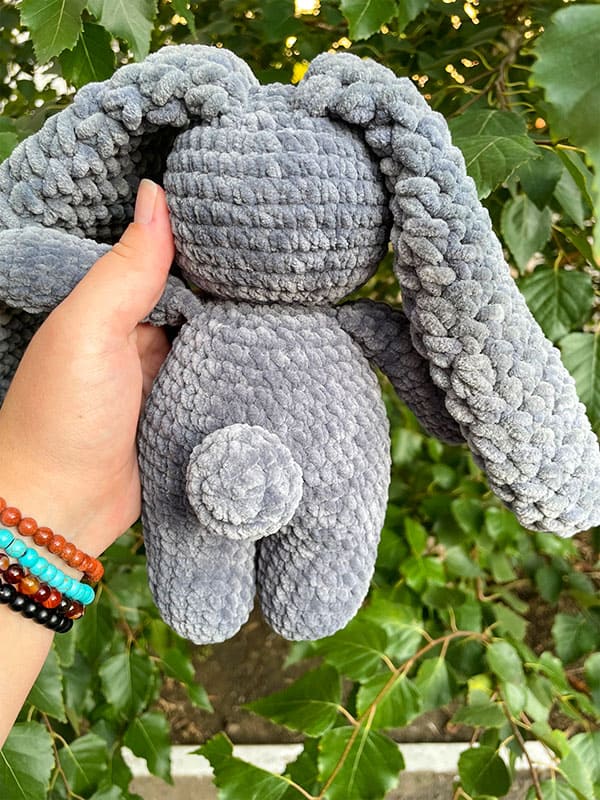
Sew on the tail.
We sew the ears in the center of the head, see photo.
Embroider the nose.

Leave a Comment