
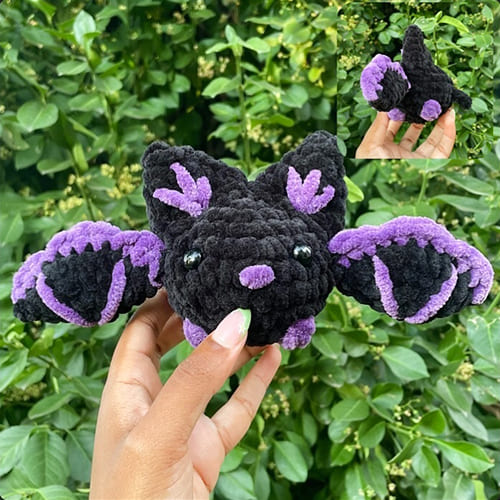

Hello everyone, have a nice weekend amigurumi bat free pattern with you. This easy level crochet bat free pattern is waiting for you below with step by step details. Follow immediately and complete this small crochet bat. You can make this cute bat with two colors of yarn in any color you want. Choose the main color and the colors you can throw in between and get to work. The crochet bat that children will love and that you can give as a gift on Halloween is now below.
Design by: sayscrochetplushies
Amigurumi bat free pattern
Materials:
5 mm crochet hook
Size 6 yarn (2 colors- main & secondary)
12 mm safety eyes (2)
Yarn needle
Scissors
Polyfill
Abbreviations:
Sc: Single crochet
MR: Magic ring
Inc: Increase
Dec: Decrease
BO: Bobble stitch (using 6 loops on a hook)
Hdc: Half double crochet
Dc: Double crochet
Slst: Slip stitch
FO: Finish off
CC: Color change
Ch: Chain
Body
R1. 6 sc in MR (6)
R2. inc x6 (12)
R3. (sc,inc)x6 (18)
R4. (2sc,inc)x6 (24)
R5. (3sc,inc)x6 (30)
R6-8. 30 sc (30)
R9. (3sc,dec)x6 (24)
R10. 2sc, BO inside dec, 2 sc, dec, BO, sc, dec, 2sc, BO inside dec, 2sc, dec, BO, sc, dec (18)
Attach safety eyes between rounds 5 & 6 about 6 stitches apart.
Stuff.
R11. (sc,dec)x6 (12)
R12. dec x6 (6)
FO.
Wings (make 2)
Start with long tail.
R1. 6 sc in MR (6)
R2. inc x6 (12)
R3. (sc,inc)x6 (18)
R4. (2sc,inc)x6 (24)
CC & cut main color.
Fold circle in half & crochet through both sides (leaving the long main color tail poking from one side).
R5. (hdc, dc, hdc, slst)x3 (12)
FO & leave a long tail.
There should be two long tails, one in your main color and one in your secondary.
Ears (make 2)
R1. 3 sc in MR (3)
R2. inc x3 (6)
R3. (sc,inc)x3 (9)
R4. (2sc,inc)x3 (12)
Stop here & FO if you want smaller ears.
R5. (3sc,inc)x3 (15)
FO & leave long tail.
Tail (optional)
Attach yarn to back of plushie right above the feet and positioned in the middle.
R1. ch 4 (4)
R2. skip first ch, 3 sc down ch (3)
FO, hide tails.
Sewing
1. Using the main color tail, sew the wings on about 3 stitches away from the eyes.
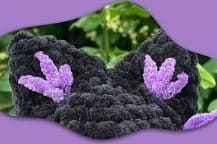
2. Sew the ears on top of the head, I recommended slightly cupping/bending them so they curve and you have more space to sew. It is completely normal for the ears to touch slightly in the middle.
Embroider
1. Using the secondary color to embroider a “V” onto the wing. On the second wing embroider it on the opposing side as the first.
2. Embroider a nose on R6 between eyes.
(optional) Embroider the inside color of ears using 2 shorter lines with one longer line in the middle.
Leave a Comment