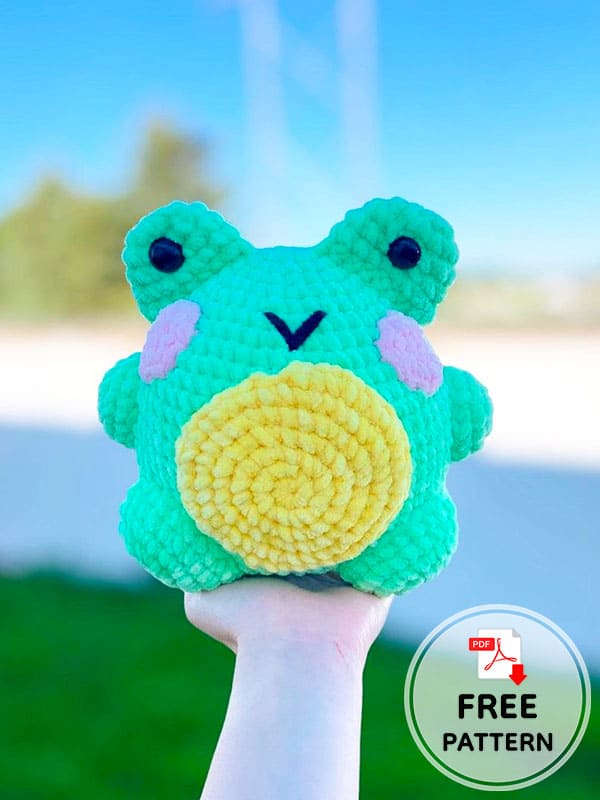
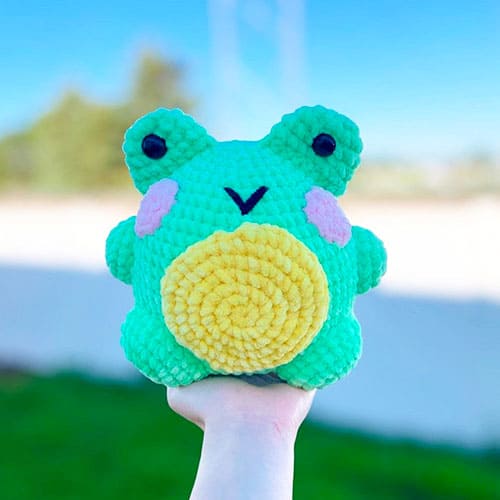
We are adding a nice joy to our weekend with the little chunky plush crochet frog pattern, friends. I would like to thank our designer for the crochet frog pattern. He did not break us and shared this cute plush frog amigurumi toy pattern with us. Thanks to the step-by-step detailed and easy-to-understand frog pattern instruction, beginners can complete the toy without difficulty. It is in your hands today to create safe toys for your children with your cat hands. Just take a look at the required materials list and get to work. Stay tuned for more crochet frog amigurumi patterns.
Chunky Plush Crochet Frog Amigurumi Free PDF Pattern
Designer: crochet.by.sammy
Materials and tools
• #6 Super bulky yarn (I use premier parfait chunky)
• Size 5 mm hook
• Darning needle
• 16 mm safety eyes
• Polyfil stuffing
• Scissors
Abbreviations
FLO: Front loop only
BLO: Back loop only
MR: Magic ring
Ch: Chain
Dec: Decrease
Inc: Increase
Sc: Single crochet
Let’s start with crocheting the cute plush frog from its body first. This is the longest part. Follow step by step. We’re getting started.
Body
Rnd 1. 6 sc in MR (6)
Rnd 2. 6 inc (12)
Rnd 3. (sc,inc)x6 (18)
Rnd 4. sc, inc (2sc,inc)x5, sc (24)
Rnd 5. (3sc,inc)x6 (30)
Rnd 6. 2 sc, inc, (4sc,inc)x5, 2 sc (36)
Rnd 7. (5sc,inc)x6 (42)
Rnd 8. 3sc, inc, (6sc,inc)x5, 3 sc (48)
Rnd 9. (7sc,inc)x6
Rnd 10. 4 sc, inc, (8sc,inc)x5, 4 sc (60)
Rnd 11-20. sc all around (60)
Rnd 21. 4sc, dec, (8sc,dec)x5, 4 sc (54)
Rnd 22. (7sc,dec)x6 (48)
Rnd 23. 3sc, dec, (6sc,dec)x5, 3 sc (42)
Rnd 24. (5sc,dec)x6 (36)
Rnd 25. 2sc, dec, (4sc,dec)x5, 2 sc (30)
Begin stuffing.
Rnd 26. (3sc,dec)x6 (24)
Rnd 27. sc, dec (2sc,dec)x5, sc (18)
Rnd 28. (sc,dec)x6 (12)
Finish stuffing.
Rnd 29. dec x6 (6)
Sew through FLO and close. Weave in ends.
We have completed your body. Now let’s do the eyes. His head and body are one piece anyway.
Eyes (X2)
Rnd 1. 8 sc in MR (8)
Rnd 2. 8 inc (16)
Rnd 3-5. 16 sc (16)
Insert safety eyes between rows 3 & 4.
Rnd 6. sc sides together (8)
Fasten off and leave long tail for sewing.
Sew eyes between rows 3-11.

Gradually the frog began to complete. Now we make the arms, and then we crochet the legs.
Arms (X2)
Rnd 1. 6 sc in MR (6)
Rnd 2. 6 inc (12)
Rnd 3. (sc,inc)x6 (18)
Rnd 4. 18 sc (18)
Fasten off and leave long tail for sewing.
Stuff and sew arms between rows 13-18.
Legs (X2)
Rnd 1. 8 sc in MR (8)
Rnd 2. 8 inc (16)
Rnd 3. (sc,inc)x8 (24)
Rnd 4-5. 24 sc (24)
Fasten off and leave a long tail for sewing.
Stuff and sew between rows 19-25.
Use belly patch to help sew legs in correct place.
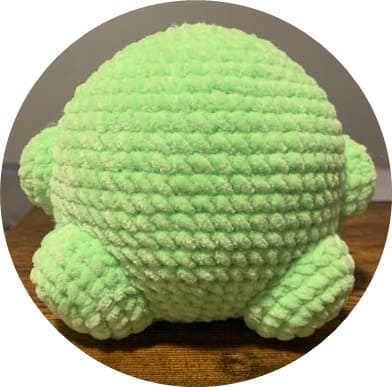
Let’s make a belly patch that will make the cute chunky frog look cuter.
Belly patch
Rnd 1. 8 sc in MR
Rnd 2. 8 inc
Rnd 3. (sc,inc)x8 (24)
Rnd 4. sc, inc (2sc,inc)x7, sc (32)
Rnd 5. (3sc,inc)x8 (40)
Rnd 6. 2 sc, inc, (4sc,inc)x7, 2 sc (48)
Fasten off and leave a long tail for sewing.
Sew between rows 10-22.
Blush
Rnd 1. 8 sc in MR (8)
Rnd 2. 8 inc (16)
Fasten off and leave a long tail for sewing.
Sew between rows 8-12.
Mouth
Sew mouth between rows 7-8, about 4 stitches apart.
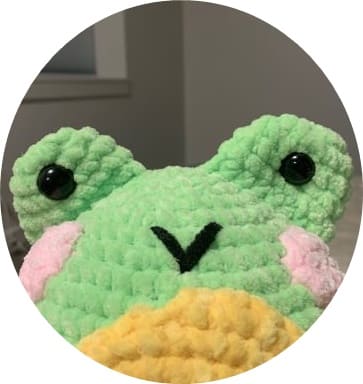
That’s it, you’ve completed the crochet frog toy.


Leave a Comment