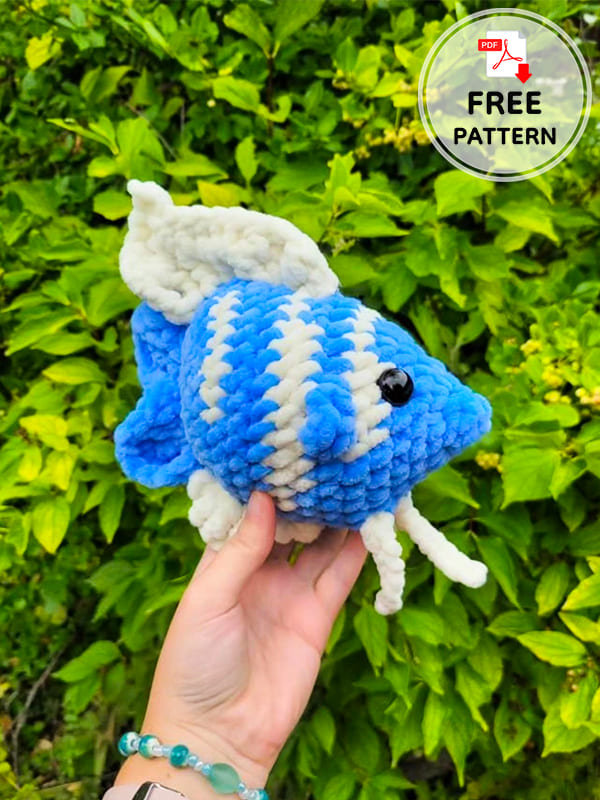
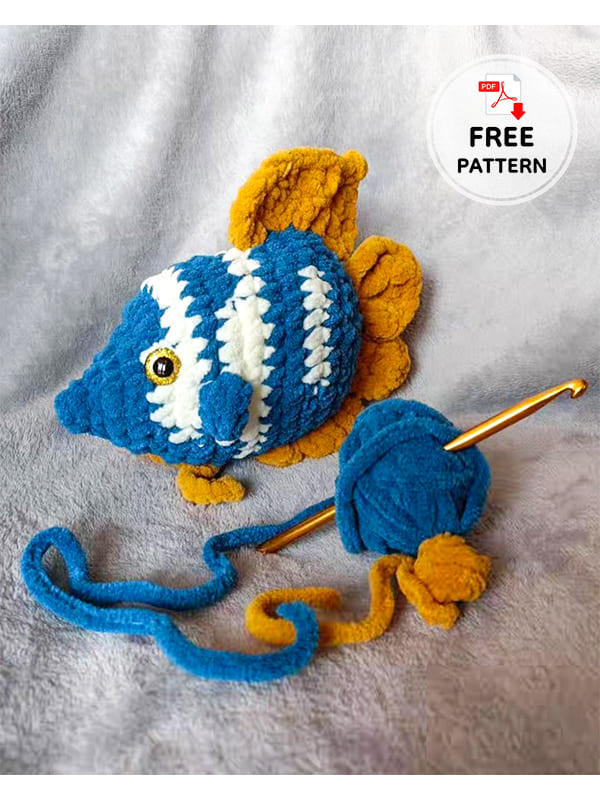
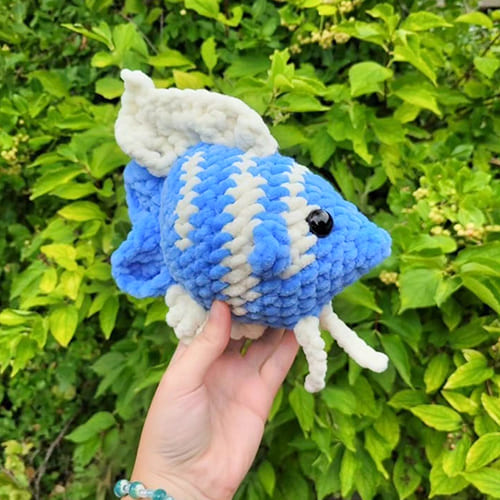
Free crochet fish pattern made from plush yarn is with you today, friends. This crochet a fish pattern is an angelfish. Since it is made with plush yarn, it will have a softer texture and a larger crochet fish. You can attach the eyes of the fish as ready-made, or you can embroider them with black yarn. But if you attach ready-made eyes, it will look better. You can choose the yarn colors as you wish. Here is this wonderful free crochet a fish pattern with you step by step below. Continue to follow for the latest free amigurumi patterns.
Design by: millysmagicmakes
Materials:
I used a 5.5 mm hook.(you can use any size depending on your yarn).
Stitch marker.
14 mm safety eyes.
Darning needle.
Scissors.
Polyfil/stuffing.
Yarn.
Terminology:
MR- Magic ring
Sc- Single crochet
Dc- Double crochet
Trc- Treble crochet
Inc- Increase
Dec- Decrease
Slst- Slip stitch
FLO- Front loop only
BLO- Back loop only
FO- Fasten off
Picot- chain 3 slst in 3rd chain from hook
Angel crochet a fish pattern
R1. 5 sc into MR (5)
R2. 5 sc around (5)
R3. 3 sc inc x5 (15)
R4. 15 sc (15)
For color change.
Pull up a loop of your main color.
Before pulling through both loops grab your accent color and pull through.
The stitches you will make in the accent color are written in bold.
R5. 5 sc (inc)x3, 4sc, (inc)x3 (21)
R6. 3 sc, 4 sc, (inc)x4, 4sc, 2sc (inc)x4 (29)
R7. 2sc, 18sc, 9sc (29)
The fins are worked in one stitch
Stitch mark each back loop if easier to find for the next round.
R8. 4sc, FLO: fin – (dc,ch1,sc,ch1,dc) 13 sc,
FLO: fin, 10 sc (29)
Next round work in the 2 back loops from R7.
R9. 2sc, 7sc, 6sc, 7sc, 7sc (29)
R10. 25sc, 4 sc (29)
Place safety eyes between row 5-6 5 stitches apart.
R11. 11 sc, (inc)x3, 15 sc (32)
R12. 11 sc, (sc,inc)x3, 15 sc (35)
R13. 5sc, 8sc, 7sc, 8sc, 7sc (35)
R14. (3sc,dec)x7 (28)
R15. (2sc,dec)x7 (21)
You may have to adjust accent color in R13 depending on your tension.
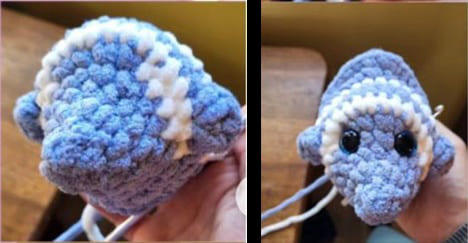
Start stuffing, do not over stuff.
Try to keep it flatter while stuffing and not making the body too round like a ball.
R16. (sc,dec)x7 (14)
R17. (dec)x7 (7)
FO, sew closed.
Your fins can be any color you choose.
Now we will add the other fins, everything is no sew.
Where we ended and sewed closed, count 3 stitches vertically, and centered, 1 will start in R16 one in R17 and another in R16.
With accent color.
Attach with (sc, ch1, dc, ch1, trc, ch1, dc, ch1, sc)
All in one stitch.
Do not chain 1, (3sc) into next stitch
Do not chain 1
Into next stitch, (sc,ch1, dc, ch1, trc, ch1, dc, ch1, sc, ch1) and turn.
I have the fish sideways in this picture showing where to make your tail stitches.
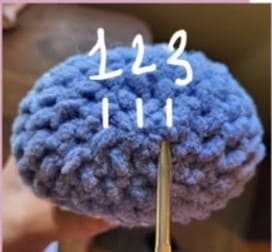
Rest of tail
Dc into each stitch and each ch 1 space.
Only sc in the 3 sc from first row.
Return to dc for the rest of stitches and ch1 spaces.
Work the bottom and top fin back towards your tail.
Bottom fin
In row 11, 5 stitches straight from the tail attach with (sc,ch1,sc) into same stitch, ch1 (2sc) into next, ch1 (2dc) into next, ch1, (2trc) into next, picot: ch3, slst into 3rd chain from hook.
Slst into same stitch, FO.
Top fin
In row 11 on top, 5 stitches straight from the tail, attach with (sc,ch1,sc)into same stitch, ch1, (2sc,ch1, dc) into same stitch, ch1, dc in next stitch, ch1, trc, picot, 2 trc into next.
Ch1 turn.
Dc into each stitch and ch1 space, at our picot we will dc into it and make another picot, continue to dc into each stitch and ch1 space, slst into first sc.
2 long bottom fins
Find the best spot on the bottom of the body to make the 2 long fins, you want them in line with your side fins, and 1 stitch apart from eachother ch 8, slst in each chain down, slst back into the same stitch of the body (7).
Repeat for a second one.
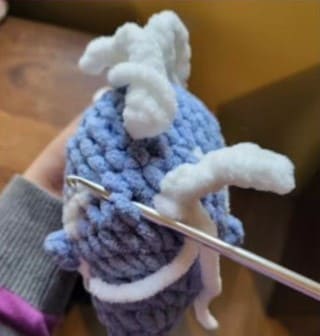
Weave all of your ends in, and add blush if you’d like.

Leave a Comment