
Hello, I am with you with pokemon crochet free patterns. How are you feeling today? If you are bored, here is a snorlax crochet pattern where you can have a great time. This step by step free snorlax crochet pattern is with you with its details. The snorlax crochet pattern that you can do by following step by step is at an easy level and our friends who are at the beginner level can do it. Color changes and other details are given to you in detail. I will mark the places where there are color changes for you.
Design by: willow.andwild
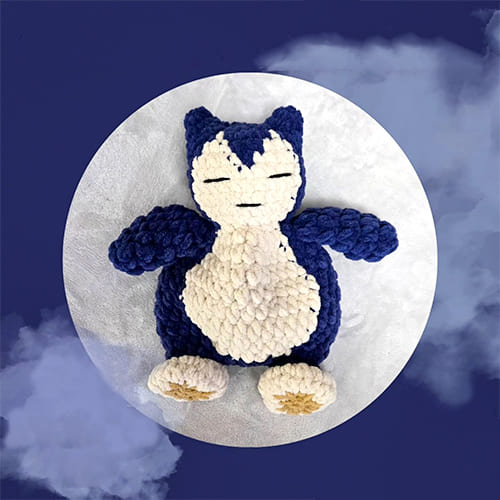
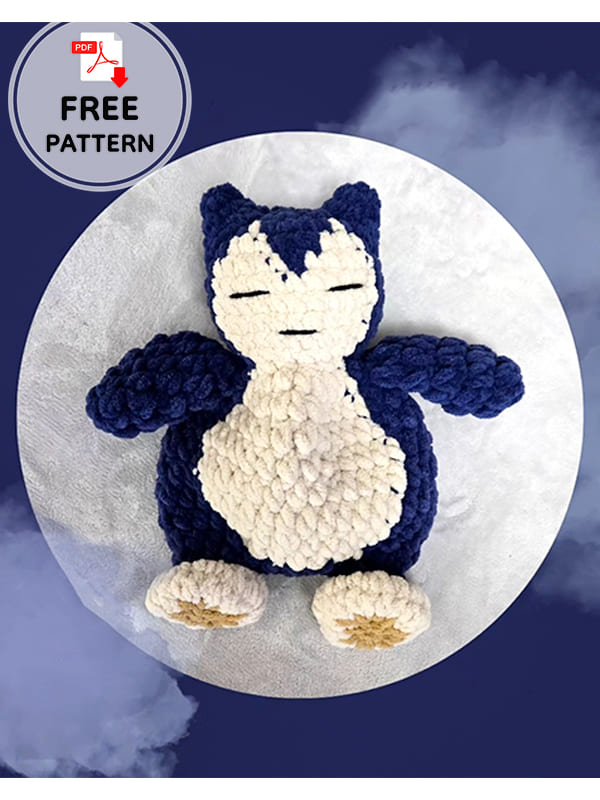
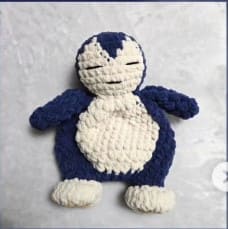
Free snorlax crochet pattern
Materials
Yarn: Weight 6
Hook: 8mm
Safety Eyes: 14mm
Tapestry Needle
Stuffing
Scissors
Stitch Abbreviations
Sc = Single Crochet
Inc = Single Crochet Increase
Dec = Single Crochet Decrease
Hdc = Half Double Crochet
Hdc Inc = Half Double Crochet Increase
Hdc Dec = Half Double Crochet Decrease
Sl st = Slip Stitch
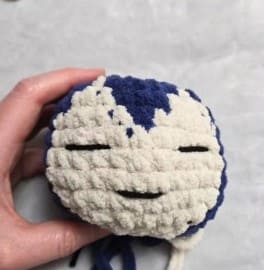
Head
In Blue + Almond:
1) 8 Sc into Magic Ring (8)
2) Inc x 8 (16)
3) (Sc 1, Inc) x 8 (24)
4) (Sc 3, Inc) x 2, Sc 1, Sc 1, Sc 1, Inc, Sc 2, Sc 1, Inc, (Sc 3, Inc) x 2 (30)
5) Sc 10, Sc 3, Sc 3, Sc 3, Sc 11 (30)
6) Sc 9, Sc 5, Sc 1, Sc 5, Sc 10 (30)
7-9) Sc 9, Sc 11, Sc 10 (30)
10) (Sc 3, Dec) x 2, (Sc 3, Dec) x 2, (Sc 3, Dec) x 2 (24)
11) (Sc 2, Dec) x 2, Sc 1, Sc 1, Dec, Sc 2, Dec, (Sc 2, Dec) x 2 (18)
12) (Sc 1, Dec) x 2, Sc 1, Dec, Sc, Dec, (Sc 1, Dec) x 2 (12) FO Almond.
Embroider eyes between R7+8, 3 stitches in length and 3 stitches apart.
Embroider mouth between R9+10, 3 stitches in length.
13) Dec x 6 (6)
Tie off, leaving 6″ tail. Use tapestry needle to sew the hole shut and secure end.
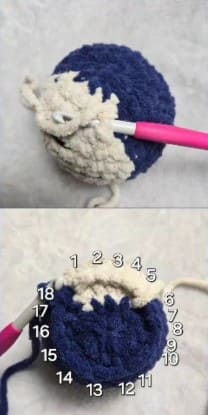
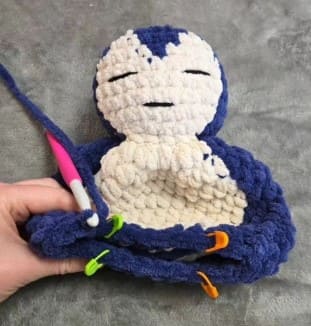
Body
In blue + Almond:
Begin by holding the head upside down and face pointing towards you. Note: You will be placing 18 sc into the bottom of the head (using Round 11 as a guide for stitch placement).
You will start the round into the first almond stitch on the right side.
1) Into head: Sc 5, Sc 13 (18)
2) Hdc Inc x 5, Hdc Inc x 13 (36)
3) Hdc 4, Hdc Inc, Hdc 6, Hdc 2, Hdc Inc, (Hdc 8, Hdc Inc) x 2, Hdc 4 (40)
4) Hdc 13, Hdc 27 (40)
5) Hdc 14, Hdc 26 (40)
6) Hdc 1, Hdc 13, Hdc 26 (40)
7) Hdc 2, Hdc 12, Hdc 26 (40)
8) Hdc 3, Hdc 4, Hdc Dec, Hdc 5, Hdc 3, Hdc Dec, (Hdc 8, Hdc Dec) x 2, Hdc 1 (36)
9) Hdc 4, Hdc dec, hdc 4, hdc dec, hdc 1, hdc 3, hdc dec, (hdc 4, hdc dec)x3 (30) FO almond.
10) (Hdc 3, Hdc Dec) x 6 (24)
Do not tie off, continue to leg instructions.
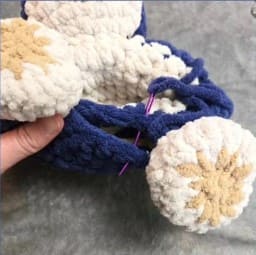
Legs
Lay the body flat to figure out how to place the legs. Using stitch markers, mark 8 stitches for each leg on each side. There will be a 4 stitch gap in between each leg on the front and back.
Add extra Hdc until you get to the front left stitch marker (from your perspective).
In Almond + Brown:
First Leg:
Working the designated 8 stitches only:
1) Sc Inc x 8 (16)
2) (Sc 1, Inc) x 8 (24)
3) Sc 24 (24)
4) Dec x 12 (12) FO Almond
5) Dec x 6 (6)
6) (Sc 2, Dec) x 2 (6)
Fasten off and sew hole shut.
In blue + Almond + Brown:
Second leg:
Add blue yarn to front stitch marker on round 10 of body, leaving a 10″ tail for sewing later.
1) Hdc 8 (8)
Work the rest of the second leg the same as the first leg (rounds 1-5 of the first leg).
Use the 10″ tail to sew the gap between the legs.
Arms (make 2)
In blue:
1) 6 Hdc into Magic ring (6)
2) (Hdc 1, Hdc Inc) x 3 (9)
3-4) Hdc around (9)
5) Hdc 7, Hdc Dec (8)
6) (Hdc 2, Hdc Dec) x 2 (6)
Fasten off and leave a long tail to sew onto the body.
Sew onto R2 of the body, directly beside the Almond belly panel.
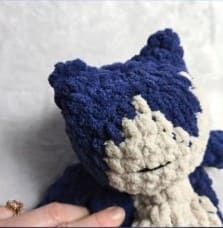
Ears (Make 2)
In Blue:
1) 5 Sc into Magic ring (5)
2) Sc 2, Inc x 3 (6)
3) (Sc 1, Inc) x 4 (12)
Fasten off and leave a long tail to sew onto the head. Sew onto either side of the head.
The top of the ear (side without the Round 2 increases) is sewn onto Round 2 of the head.
Leave a Comment