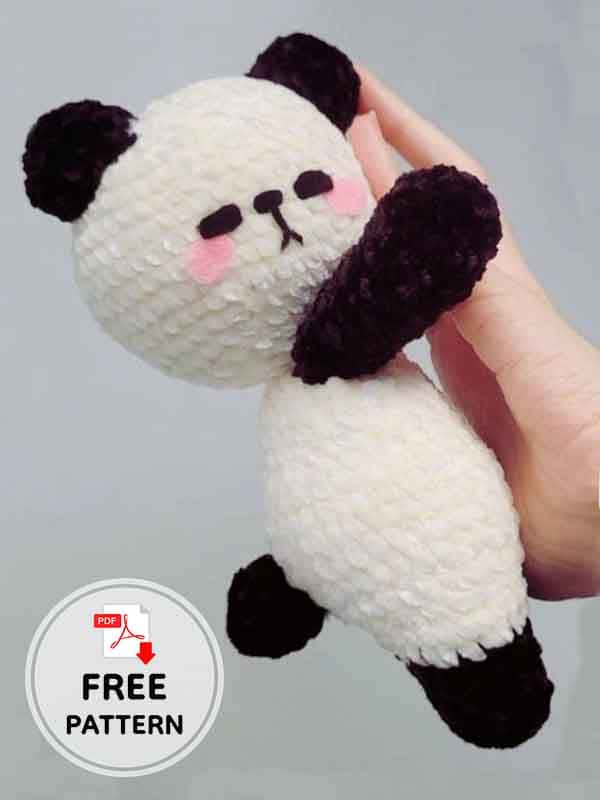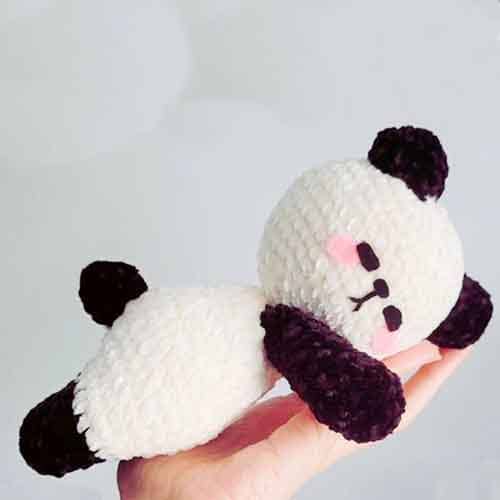
I am offering you this very cute and fluffy sad crochet panda pattern for free today, especially for the weekend. I hope you have a nice weekend. This wonderfully cute and sweet crochet panda will be your favorite amigurumi toy this week. You can use black and white or 2 colors of your choice when making the crochet panda. A colorful crochet panda can appear according to your imagination. Because why not, right? You can choose your crochet hook according to your yarn. You can use ready-made eyes for the panda, or you can cut felt and stick it on. Because you will make the blush on the panda’s cheeks with pink felt. Or you can embroider it with pink yarn. Here is this wonderful sad crochet panda pattern with you now.
Design by: blue_toadstool_crochet
The Sad Crochet Panda
Materials:
– 2 colors yarn.
– Crochet hook for your yarn.
– Fiber fill
– Scissors
– Sewing needles.
– Pins (for sewing)
– Safety eyes of preferred size
– Optional: felt for details and glue.
Abbreviations:
MR- Magic ring
Sc- Single crochet
Inc- Increase
Dec- Decrease
Slst- Slip stitch
CC- Change color
FO- Fasten off
Head
In white.
R1. 8 sc in mr (8)
R2. (inc)*8 (16)
R3. (sc,inc)*8 (24)
R4. (2sc,inc)*8 (32)
R5. (3sc,inc)*8 (40)
R6. 40 sc all around (40)
R7. (4sc,inc)*8 (48)
R8-9. sc all around (48) (2 rounds)
R10. (5sc,inc)*8 (56)
R11. (6sc,inc)*8 (64)
R12. sc all around (64)
R13. (6sc,dec)*8 (56)
Insert safety eyes here if you’re using them, around 6 stitches apart.
R14. (5sc,dec)*8 (48)
R15. (4sc,dec)*8 (40)
R16. (3sc,dec)*8 (32)
R17. (sc,dec)*10, 2 sc (22)
R18. (2sc,dec)*5, 2 sc (17)
Stuff, be sure to flatten one side of the head a bit.
FO, no need to leave a long tail as you’ll use the long tail from the body.
Legs – make 2
In black.
R1. 6 sc in mr (6)
R2. (inc)*6 (12)
R3-8. 12 sc all around (12) (6 rounds)
Stuff.
FO, no need to leave a long tail.
For the second leg repeat R1-8 and CC to white in the last stitch ch 4 and with a sc connect the second leg to the first leg.
This sc count as first stitch of the body.
Now we start the body.
Body (pt.1)
Continues from R9.
R1. (sc,inc)*6, 4 sc in the chain, (sc,inc)*6, 4 sc in the chain (44)
R2. 6 sc, 3 dec, 7 sc, 3 inc, 6 sc, 3 dec, 7 sc, 3 inc (44)
R3-4. 44 sc all around (44) (2 rounds)
R5. sc, (6 sc, inc)*6, sc (50)
R6. 50 sc all around (50)
R7. dec, (6sc,dec)*6 (43)
Body (pt.2)
R8. (2sc,dec)*10, dec, sc (32)
R9. 32 sc all around (32)
R10. (3sc,dec)*6, dec (25)
Start stuffing.
R11-12. 25 sc all around (25) (2 rounds)
R13. (sc,dec)*8, sc (17)
Finish stuffing, while stuffing flatten one side of the body a bit, this part will be the belly.
FO, and leave a long tail for sewing.
Arms (make 2)
In black.
R1. 6 sc in mr (6)
R2. (inc)*6 (12)
R3-10. 12 sc all around (12) (8 rounds)
Stuff.
FO, leave a long tail for sewing.
Ears (make 2)
In black.
R1. 6 sc in mr (6)
R2. (inc)*6 (12)
R3. 12 sc all around (12)
R4. (sc,inc)*6 (18)
Stuff.
FO,leave a long tail for sewing.
Tail
In black.
R1. 6 sc in mr (6)
R2. (inc)*6 (12)
R3. (sc,inc)*6 (18)
R4. (sc,dec)*6 (12)
Stuff.
FO, leave a long tail for sewing.
Assembly
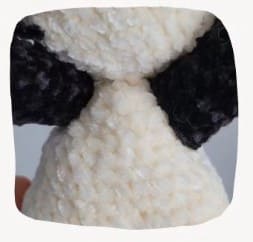
1. Sew the head to the body, place the head sideways so one ear is directly in the middle from the neck and the other ear also lines up to be sewn in the middle on the opposite side.
2. Sew the ears to the head, between rounds 5-9, feel free to adjust according to your own preference.
3. Sew the arms to the body just under the head, 3/4 stitches apart on the front.
Optional: sew the arms to the head.

4. Sew the tail to the body between rounds 4-6.
5. Cut small oval eyes and smaller ovals in pink color for blush feel free to adjust the position according to your preference.


Leave a Comment